

Journal
Padar Island Sunrise Photography Spots
Short answer: Padar's ridge has three distinct viewpoint platforms along the same climbing trail, not one single "spot" — the lower platform gets you the classic three-bay composition…
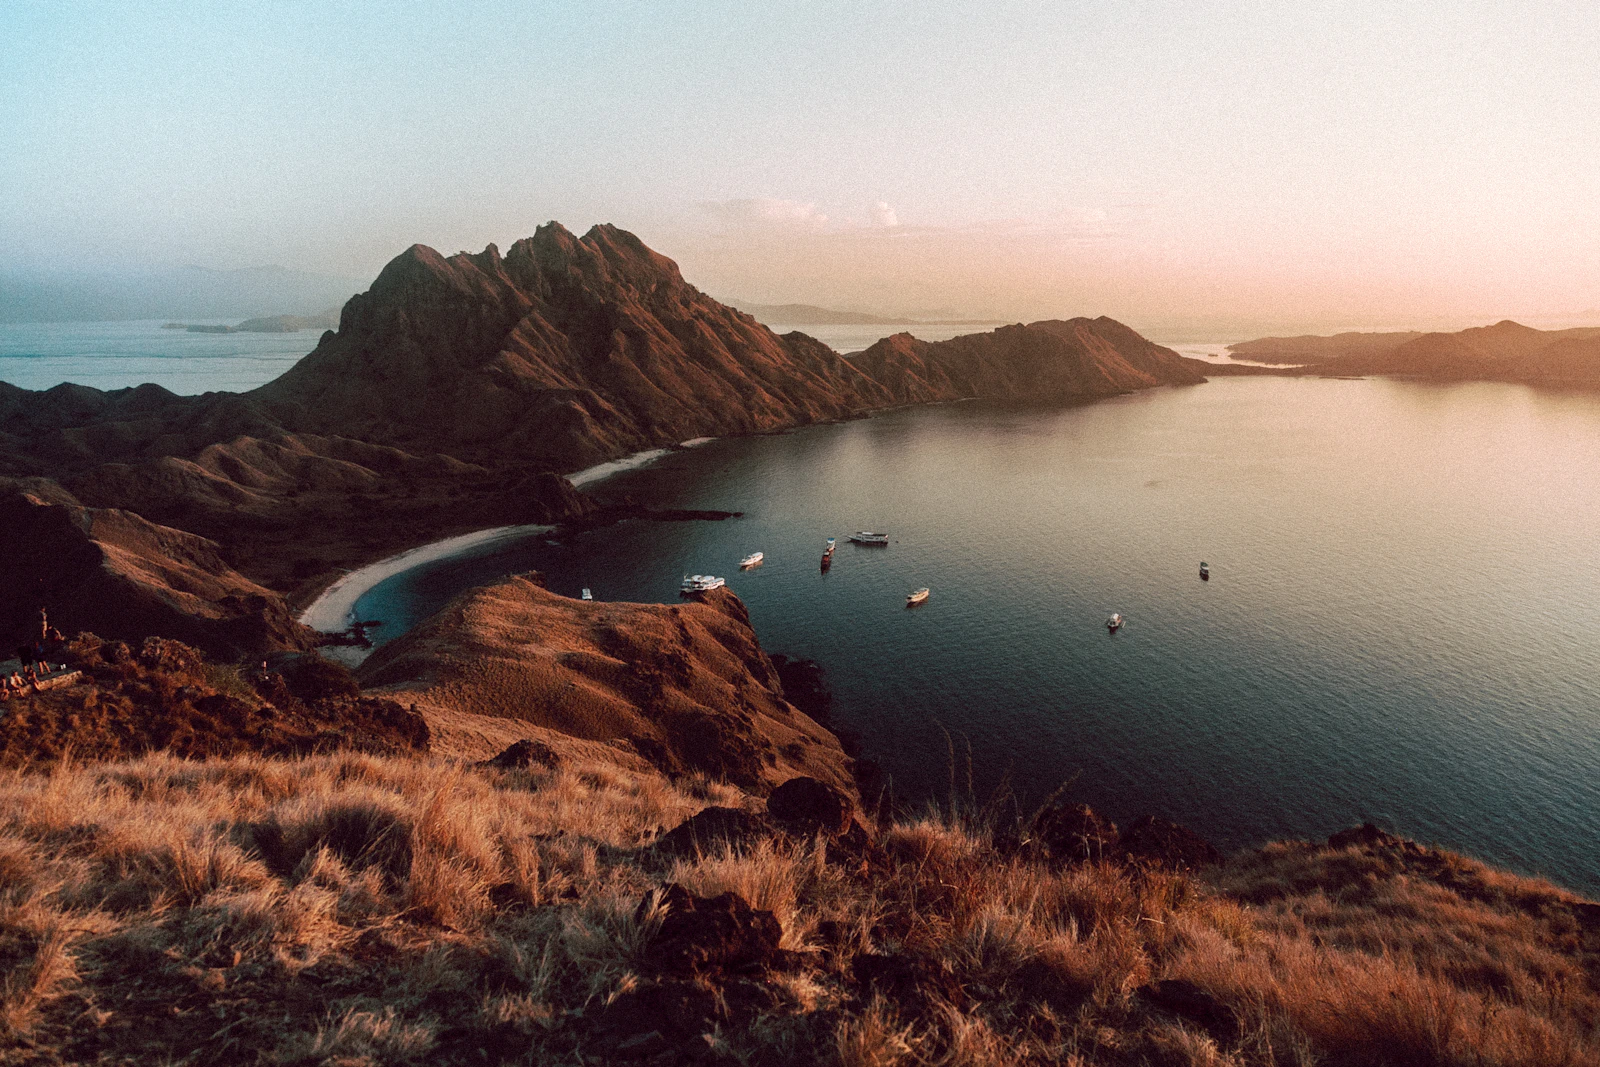
Short answer: Padar’s ridge has three distinct viewpoint platforms along the same climbing trail, not one single “spot” — the lower platform gets you the classic three-bay composition fastest, the middle platform offers the widest unobstructed angle, and the true summit trades a wider view for extra elevation and fewer people willing to climb that far in the dark.
Last updated: August 23, 2026.
The three viewpoint platforms, and which one to choose
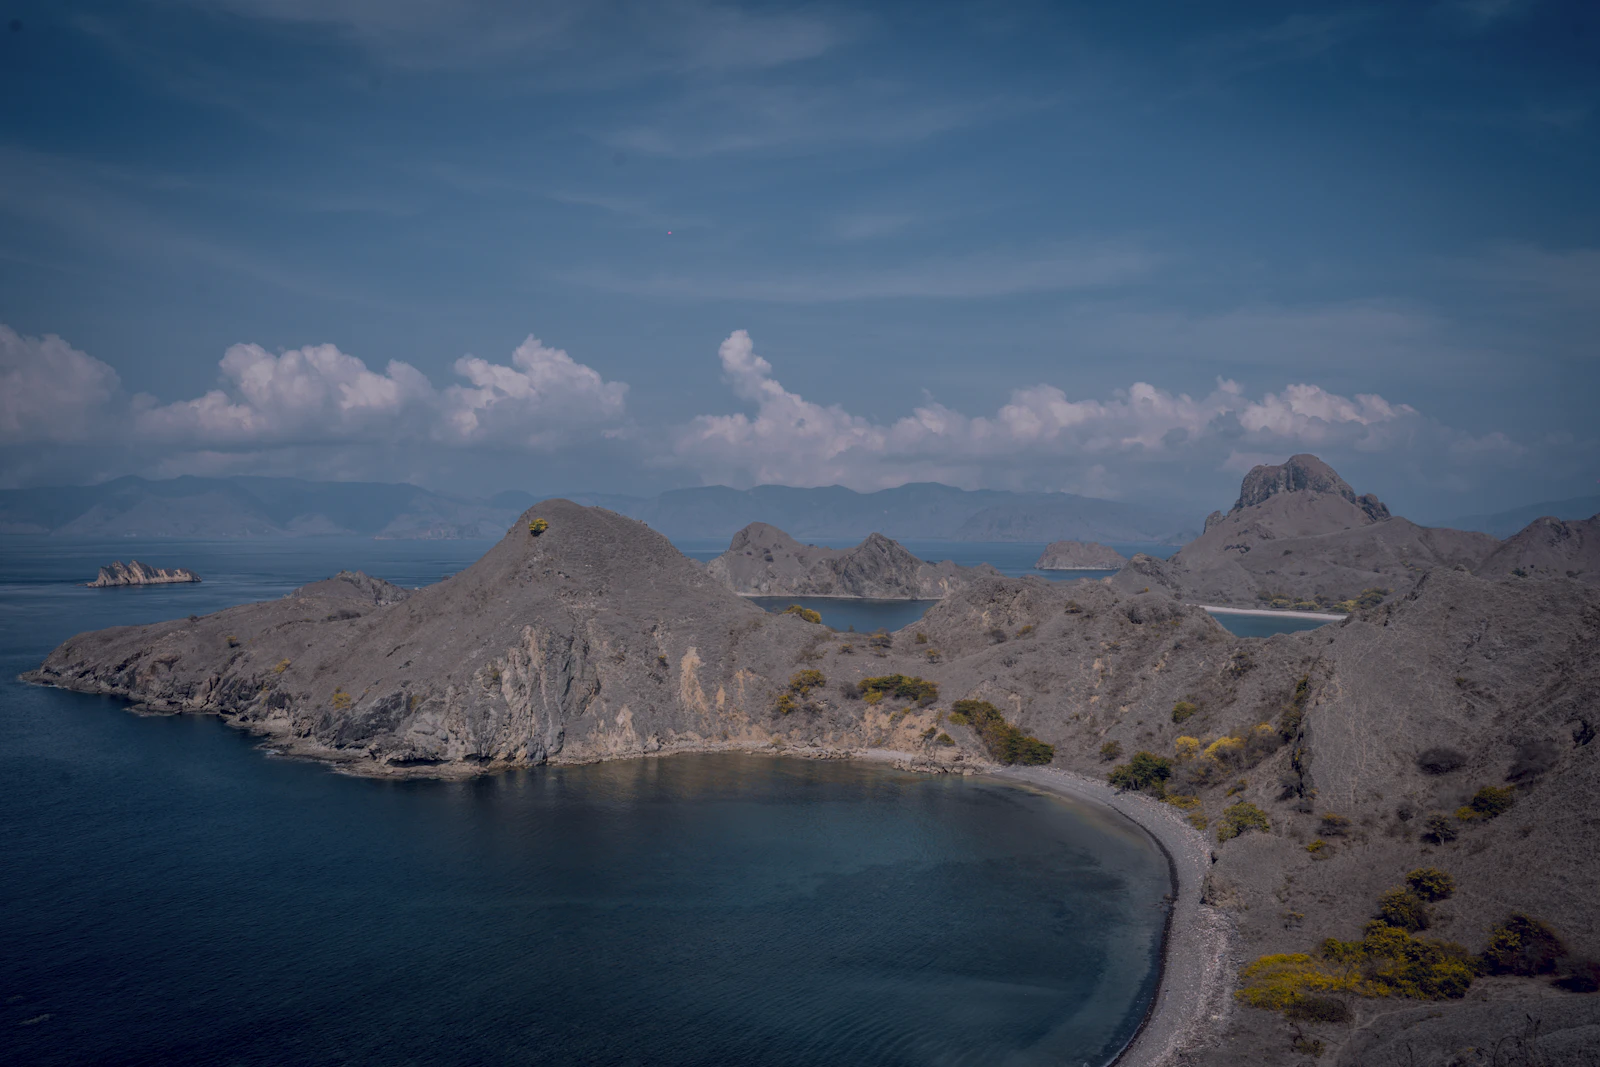
Most first-time visitors assume there’s a single Padar viewpoint because that’s how photos are usually captioned. In practice, the trail has natural pause-and-shoot points at three different elevations along the ridge, and where you stop changes your composition meaningfully:
- Lower platform (roughly a third of the way up): Reachable in 10-15 minutes, offers a solid three-bay view already, and is the fastest option if your group is running behind schedule for first light.
- Middle platform: The most commonly photographed spot, striking a balance between elevation and effort, typically reached in 20-25 minutes. Wide enough for the full black-sand, white-sand, and pink-tinted bay composition without needing an ultra-wide lens.
- True summit: Another 10-15 minutes beyond the middle platform, with a noticeably wider panorama and fewer people, since a portion of each sunrise crowd stops at the middle platform once the light show has started.
Which direction does the light actually come from?
Sunrise light arrives from the east, meaning the classic three-bay panorama is shot with the sun rising to your side or slightly behind you rather than directly ahead — this is why the hills glow gold rather than the shot becoming a silhouette. The window that matters most for photography isn’t the moment of sunrise itself but the 15-20 minutes before it: the “blue hour” transition when the sky shifts from deep blue to soft gold gives the savannah hills their most photographed texture, well before direct sun hits the frame and flattens the color contrast.
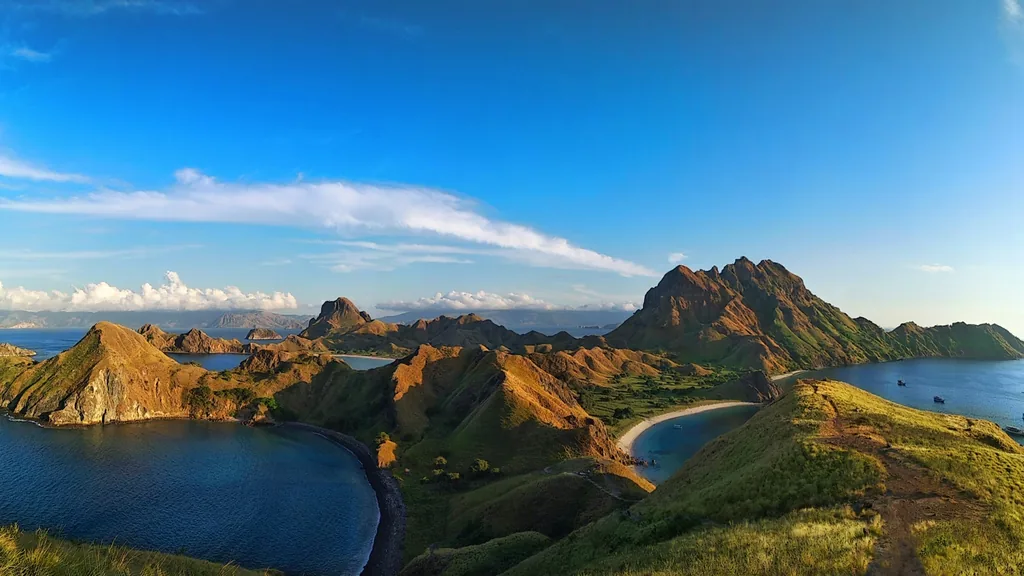
Composing the three-bay shot
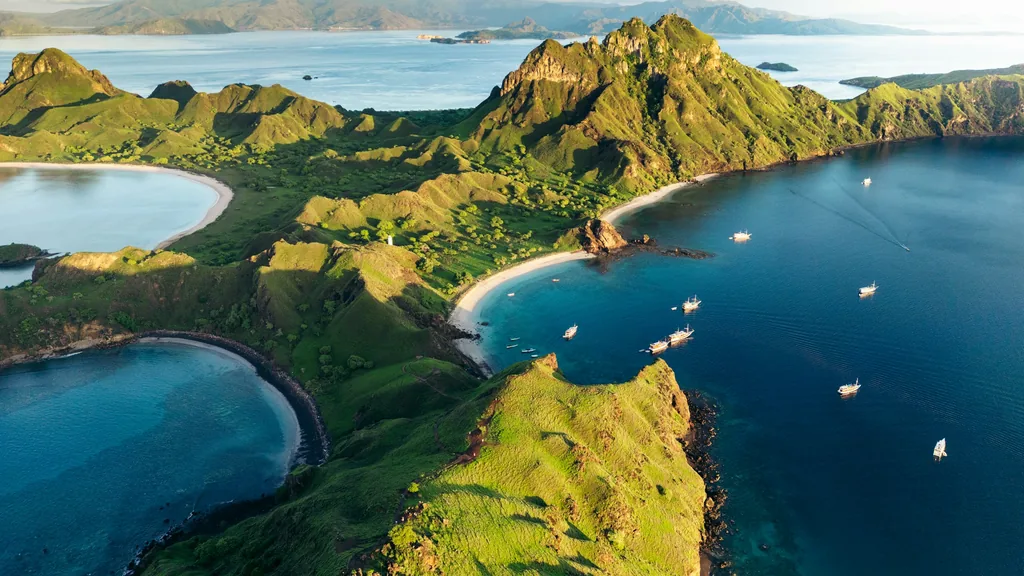
The signature Padar composition places the winding ridge line in the foreground leading the eye toward the three color-differentiated bays in the background. Shooting from slightly below the main platform rather than directly on it often produces a stronger foreground-to-background line, since it captures more of the ridge’s natural S-curve. A polarizing filter helps cut haze and glare off the water in the bays, particularly once the sun is fully up and shooting past blue hour.
Timing your climb for first light
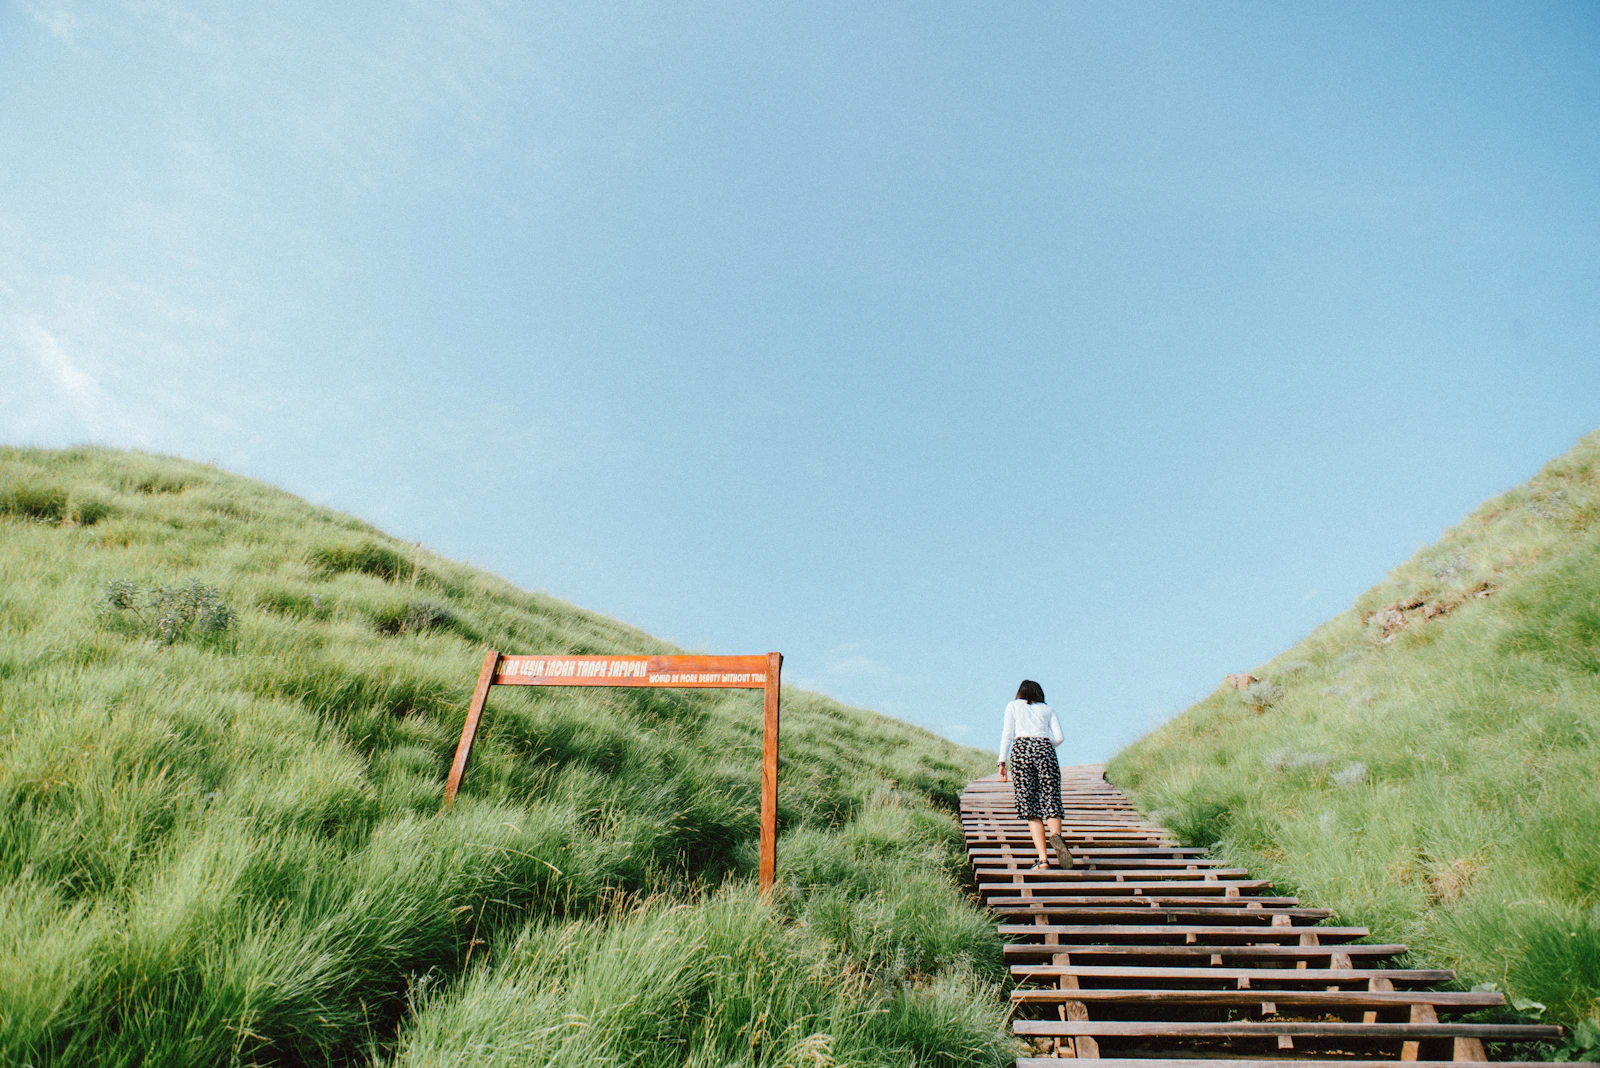
Because the tender ride and initial climb happen in darkness, arriving at your chosen platform 15-20 minutes before official sunrise time (checked in advance for your specific date) gives you the blue-hour window without rushing the final stretch. Groups that time their departure only for sunrise itself typically arrive during or after the best light has already passed its peak. If your boat’s schedule has any flexibility, ask to leave 10 minutes earlier than the standard call time specifically for photography — most crews accommodate this without pushback.
Gear that actually helps vs. gear that’s dead weight
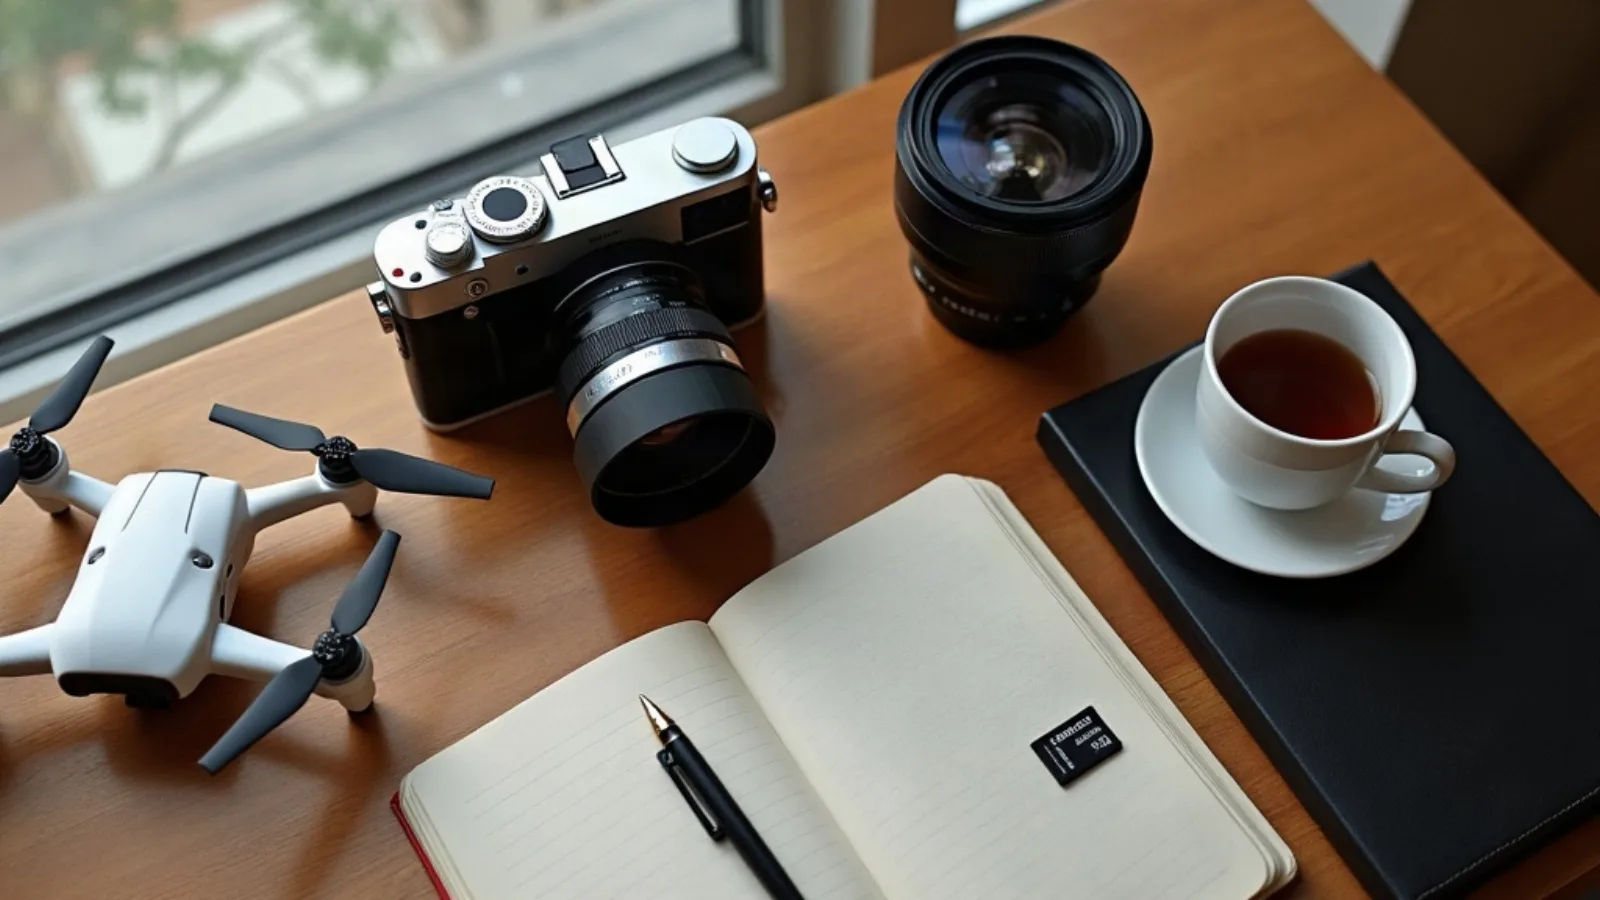
A wide-angle lens (roughly 16-24mm equivalent) captures the full three-bay sweep better than a standard zoom; a small travel tripod helps in the low blue-hour light before sunrise fully breaks, though hand-holding at higher ISO works fine on modern phones and mirrorless cameras. What’s genuinely dead weight on this specific climb: a heavy DSLR body with multiple lens changes attempted mid-trail (dust and low light make this impractical), and any gear you’re not comfortable carrying one-handed while using the other for balance on the steeper sections.
Crowd management for a clean shot
The middle platform gets genuinely crowded in the 10-15 minutes around official sunrise during peak season, since it’s the most commonly recommended stopping point. Climbing 10-15 minutes further to the true summit, or alternatively stopping at the lower platform and shooting slightly earlier, are the two practical ways to get a composition without other visitors in frame. Neither requires special access — just different timing than the crowd’s default behavior.
Which months give you the clearest sunrise shots?
Dry season months give the most reliably clear skies for sunrise photography, since cloud cover and haze both increase noticeably during the wetter months. A completely clear sky isn’t always the most photogenic outcome, though — a light scattering of high cloud often produces more dramatic color at blue hour than a totally empty sky does, so “clear” and “best” aren’t quite the same thing for photography purposes. For a fuller month-by-month breakdown of weather patterns, see our existing best time to visit Padar Island guide, which covers rain probability and sea conditions in more depth than the photography-specific timing covered here.
What happens on a cloudy or rainy morning?
A fully overcast sky flattens the light and removes most of the gold-hour color the summit view is known for, but it doesn’t always mean an aborted trip — soft, diffused light under thin cloud can still produce a usable, moodier shot, just a different one than the postcard version. Heavier rain or storm conditions are a different matter and typically mean your operator delays or cancels the Padar landing entirely for safety reasons, independent of photography considerations — see our Padar Island rules and safety guide for how weather-related schedule changes are typically handled.
Shooting people versus landscape at the viewpoint
Including a person in the frame — standing at the platform edge facing the bays — gives the three-bay view a sense of scale that a pure landscape shot often lacks, since there’s little else in frame to judge the ridge’s actual size against. If you’re photographing companions rather than the empty view, arrive slightly before the main crowd so you have room to direct a pose without other visitors immediately behind them, and agree on the shot in advance since the platform’s usable flat space for a clean composition is smaller than it looks in wide photos.
Frequently asked questions
Is there one best spot to photograph the Padar Island sunrise?
Not exactly — the trail has three natural viewpoint platforms at different elevations, each offering a slightly different composition. The middle platform is most commonly used; the summit offers a wider view with fewer people.
What time should I arrive for the best Padar Island sunrise photos?
Aim to be at your chosen platform 15-20 minutes before official sunrise time to catch the blue-hour transition, which produces stronger color and texture than shooting only at the moment of sunrise itself.
What lens works best for Padar Island sunrise photography?
A wide-angle lens around 16-24mm equivalent captures the full three-bay panorama most effectively; phone ultra-wide modes work well too.
Can I avoid the crowds at the Padar Island viewpoint?
Climbing to the true summit rather than stopping at the middle platform, or timing your arrival slightly earlier than the main group, are both practical ways to reduce other visitors in your frame.
For how to reach Padar early enough to catch the best light without rushing, see our speedboat versus wooden boat comparison, and if snorkeling is also part of your morning, our guide to snorkeling near Padar Island covers the stops that typically follow a sunrise climb.
Getting a camera into position means getting a boat
padarisland.com publishes photography research, not charters. The boats belong to our affiliated partner, Komodo Luxury. Every frame on this page depends on standing at the viewpoint during the first session, which in practice means sleeping on the water nearby. Boats that anchor within reach: Komodo Luxury’s sailing trips, private phinisi charters, and the Komodo Signature fleet.
Choosing your platform before you climb in the dark
The staircase passes three main platforms, and they are not interchangeable. The middle one is the compromise most photographers settle on: a broad, unobstructed sweep of the three bays with the ridge still reading as a diagonal into the frame. The lower platform is quicker to reach, which matters if you are short on time or fitness, and it emphasises the steep slopes dropping into the nearest bay. The summit is quieter, but the extra height flattens the curves of the shorelines — you gain distant detail and lose the shape that made you climb.
Beyond those three, the trail keeps offering angles. Short side terraces, flatter patches on the bends, and gaps in the railing where foreground rocks line up with the water all produce frames the main platforms cannot. These lay-bys sit slightly off the gathering areas, so you can work patiently and use the staircase itself as a leading line. In practice, moving a few metres left or right changes a composition more than climbing another fifty steps does.
Conditions should decide the final call. On a clear morning the higher platforms hold fine detail on the distant islands; when haze sits over the water, lower angles keep the emphasis on the nearer bays where contrast still exists. A workable plan for a standard session: start at the middle platform for the main sunrise, drop to the side terraces as the light strengthens to refine foregrounds, and if there is time, walk up to compare from the summit before descending.
Working the light
Blue hour is short and worth being early for. In the first session the sky glows before the sun clears the horizon, long exposures smooth the water and record the lights of distant boats, and the mood is entirely different from the contrastier frames that follow. The trail is genuinely dark at that point, so a headlamp and secure footing come before any camera consideration. Picking one or two blue-hour positions in advance stops you burning the window deciding where to stand.
Once the sun is up you are shooting into it, which means strong backlighting and deep foreground shadow. Exposing for the highlights preserves sky detail and lets the ridges fall to silhouette, which usually simplifies the composition to its advantage. A lens hood, framing that tucks the sun behind a peak, and occasional bracketing give you room in processing. The most forgiving contrast runs from first light to roughly an hour after sunrise, when colour separates cleanly between the hills and the water. Later the light hardens, though side-lit ridges still hold up; late-afternoon sessions trade the silhouettes for softer, warmer tones.
Low mist is never guaranteed, but transitional weather sometimes brings it, softening the ridges and flattening colour. In that case, layered silhouettes work better than fine detail, and it is usually worth waiting as the sun lifts the haze and structure reappears.
Two composition notes that survive most conditions. The classic arrangement balances the bays in a shallow W with the ridge leading in diagonally; small positional shifts stop one bay overlapping another, tilting down emphasises the curve of the coastline, and raising the horizon brings the outer islands and sky into play. And foreground helps — a stable rock or a single hardy shrub in the lower third anchors a wide frame. Scan for stones you can stand safely behind or above rather than climbing onto loose edges for them.
Gear worth the weight, and gear that is not
One body and one or two lenses is the honest limit for a staircase climb in the dark. A wide-to-standard zoom covers both the sweeping bays and tighter landscape detail; a short telephoto compresses ridge layers and picks boats out of the water. Ultra-wide emphasises the curve of the bays but shrinks the distant islands, so it earns a few specific frames rather than a place on the camera. If you take only one lens, a flexible mid-range zoom is the one.
Tripods are permitted and full-size ones are allowed, but you have to carry them up and down safely and they become awkward on crowded mornings, in tight spaces and on the narrow ridge sections. A light travel or compact carbon model is easier on everyone. Set up slightly off the main flow, avoid creating a trip hazard on dark steps, expect to yield when a group wants brief access to the classic angle, and be ready to fold it if a ranger asks or the trail congests. A tripod you can deploy and pack quickly is worth more here than a sturdier one you cannot.
Filters are optional. A circular polariser deepens sea colour and cuts glare, but it costs light and can produce uneven sky at wide focal lengths; its real value comes later in the morning when reflections off the bays strengthen. Neutral density is only worth carrying if you specifically want long exposures once the light is stronger — through the main sunrise window shutter speeds are moderate enough to hand-hold.
Two practical protections. The volcanic soil turns dusty in the dry season, so keep the camera in a zip bag or padded pouch during the boat ride and the climb, and bring a blower and microfibre cloth for afterwards. And pack the weight close to your back using both shoulder and waist straps — it makes the stairs manageable and keeps you steady when you stop at a railing or step past another group.
Phones do better than people expect. HDR and night modes handle the dynamic range of sunrise well; the main lens is usually sharper than the ultra-wide even though the ultra-wide suits the three bays. Wipe the lens often, brace against the railing, and tap to expose for the sky rather than the foreground.
The climb, the crowd, and the rules
Sunrise is the busiest session because every operator is aiming for the same light. Expect a queue at the lower platforms and a steady stream on the stairs on popular dates, and allow time to overtake slowly and to wait for gaps if you want cleaner frames. Completely empty scenes are rarely realistic, but working slightly off the platform edge, pointing away from the staircase and using tighter mid-telephoto frames that exclude the railing and horizon will read as empty even when others are just outside the crop.
Reaching the platforms in time means leaving the jetty promptly once the boat anchors and holding a steady pace, with a headlamp on and hands free for the railing. If you know you climb slowly, take the lower platform deliberately rather than rushing the upper steps in the dark. Moderately active visitors manage the ascent by pacing it; if your fitness is limited, the honest constraints are the sustained stairs and the heat and humidity that arrive quickly after sunrise, so breaks at the lower platforms, plenty of water and not carrying gear you will not use make the difference.
The cliffs fall away steeply in several places with loose gravel near the edges. Stay inside the railing and on the constructed trail even when an off-trail rock offers an angle nobody else has — gusts and the weight of a camera pack both work against you on exposed sections.
On permissions: handheld cameras, phones and tripods for personal work need nothing beyond your normal park ticket and SiORA reservation. Commercial projects, filming and large crews fall under separate permissions and fees, and drones are regulated separately with unauthorised flying prohibited. If you are unsure which side of that line your shoot falls on, confirm with the park office before you travel. There is no sunrise surcharge in the park’s own fee structure — entry is charged per person per day regardless of session — though boat operators may well price early departures differently for fuel and crew hours, so check what your tour actually includes.
Finally, assume no power and no signal. There are no charging points on Padar, boat crews may or may not offer sockets, and a fully charged power bank plus flight mode during the climb is a better plan than any facility you have not personally confirmed. A sunrise-focused day pairs naturally with one or two snorkelling or beach stops later in the morning, which keeps the early hours unhurried; on a longer Komodo photography trip, separating the landscape day from the wildlife day lets you pack light for the stairs and carry long glass only when it earns its place.
This guide does not operate boats. Bookings are fulfilled by Komodo Luxury, and this site may earn a referral commission.
Ready When You Are
Ready to book?
Chat directly on WhatsApp with the Komodo Luxury team.
This guide does not operate boats. Bookings are fulfilled by Komodo Luxury, and this site may earn a referral commission.