
Padar Island Editorial Desk · Last updated August 2026

What is the single best photo spot on Padar Island?
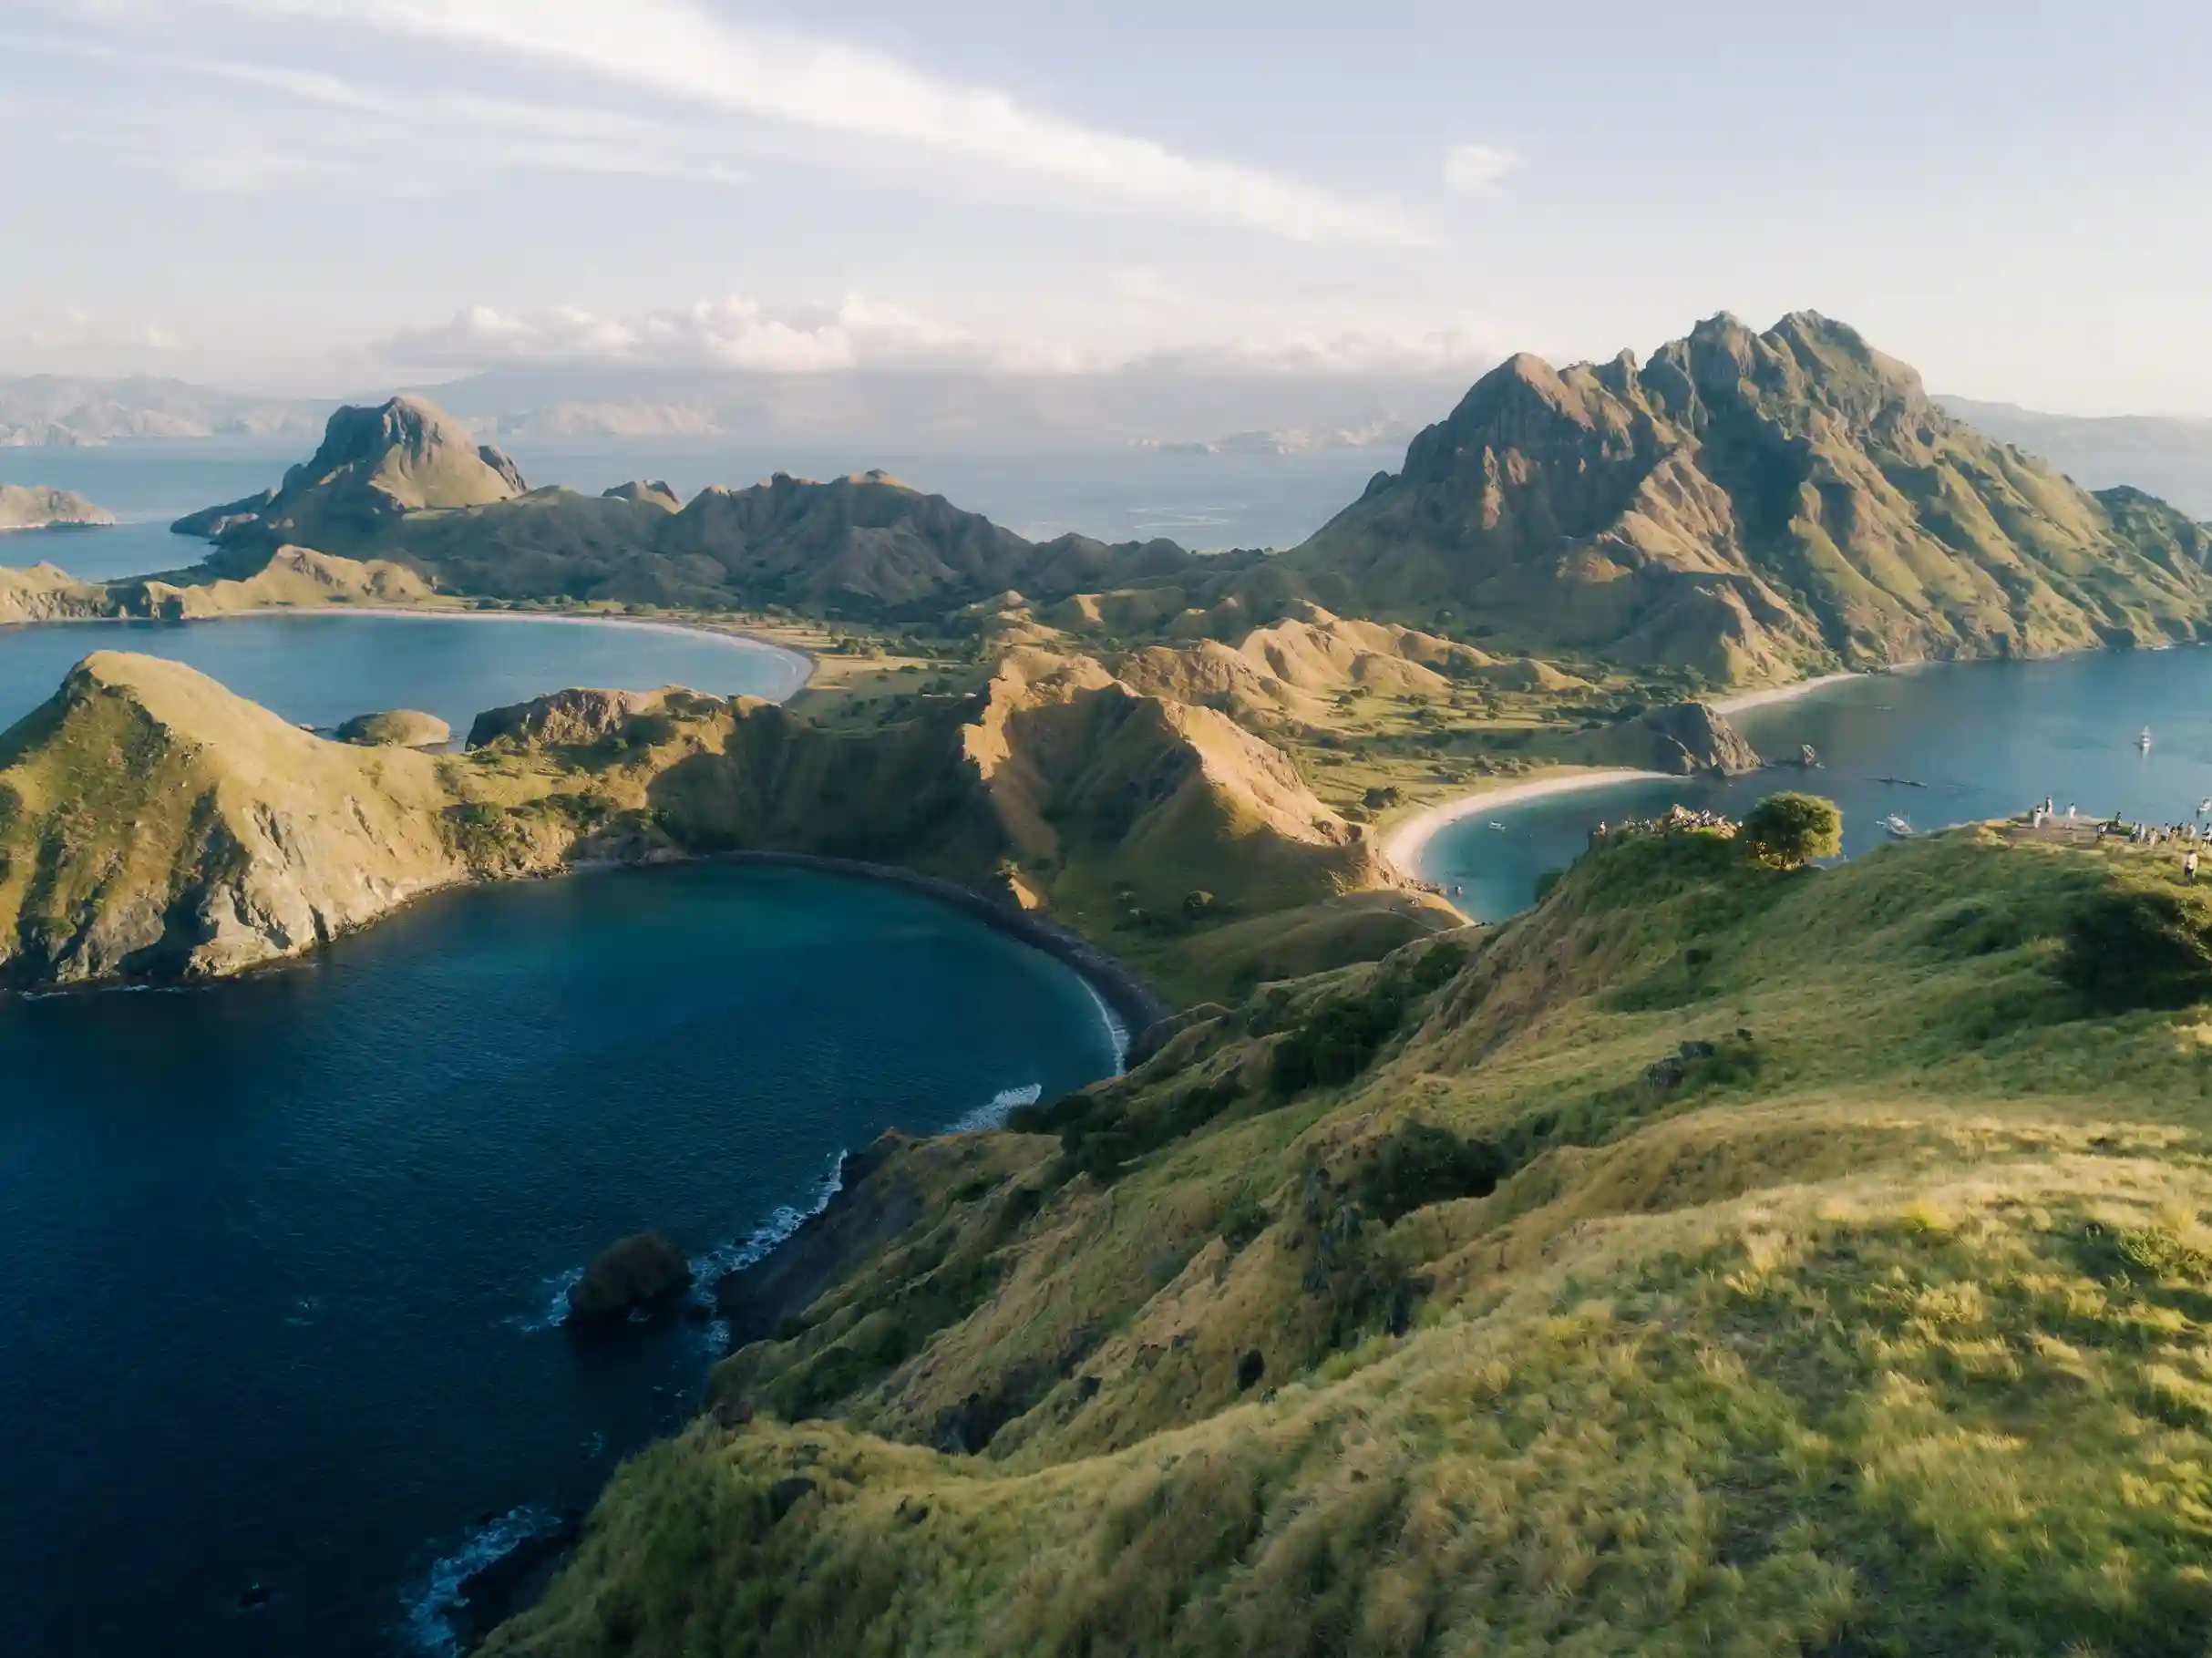
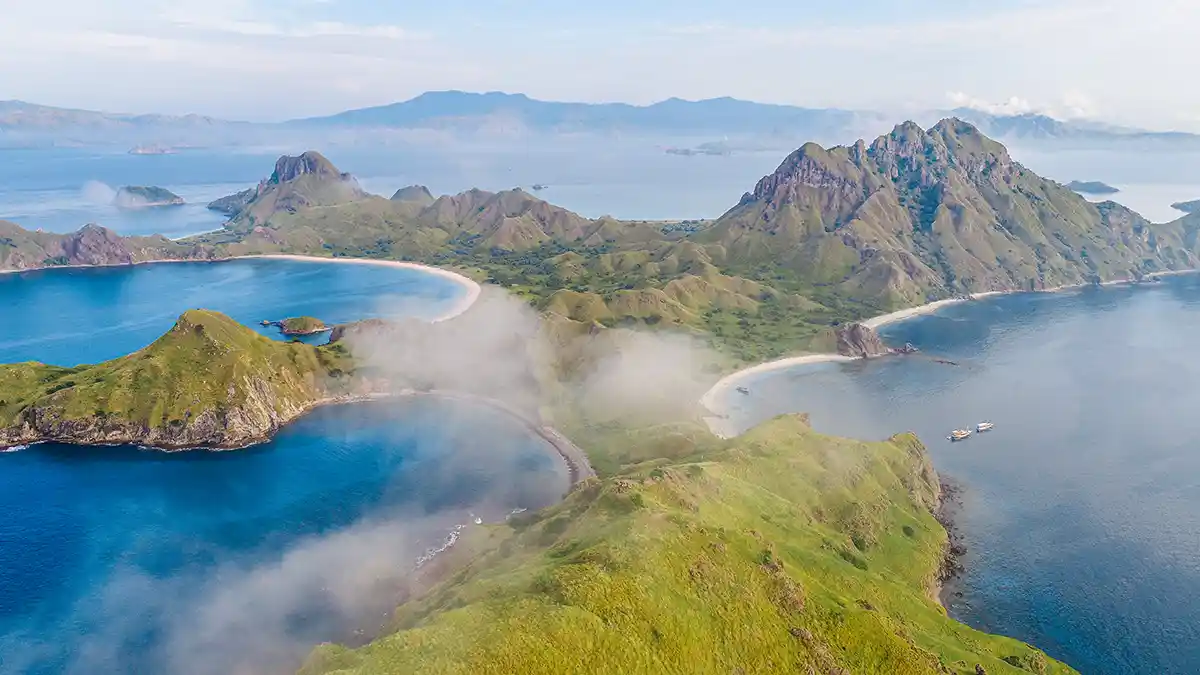
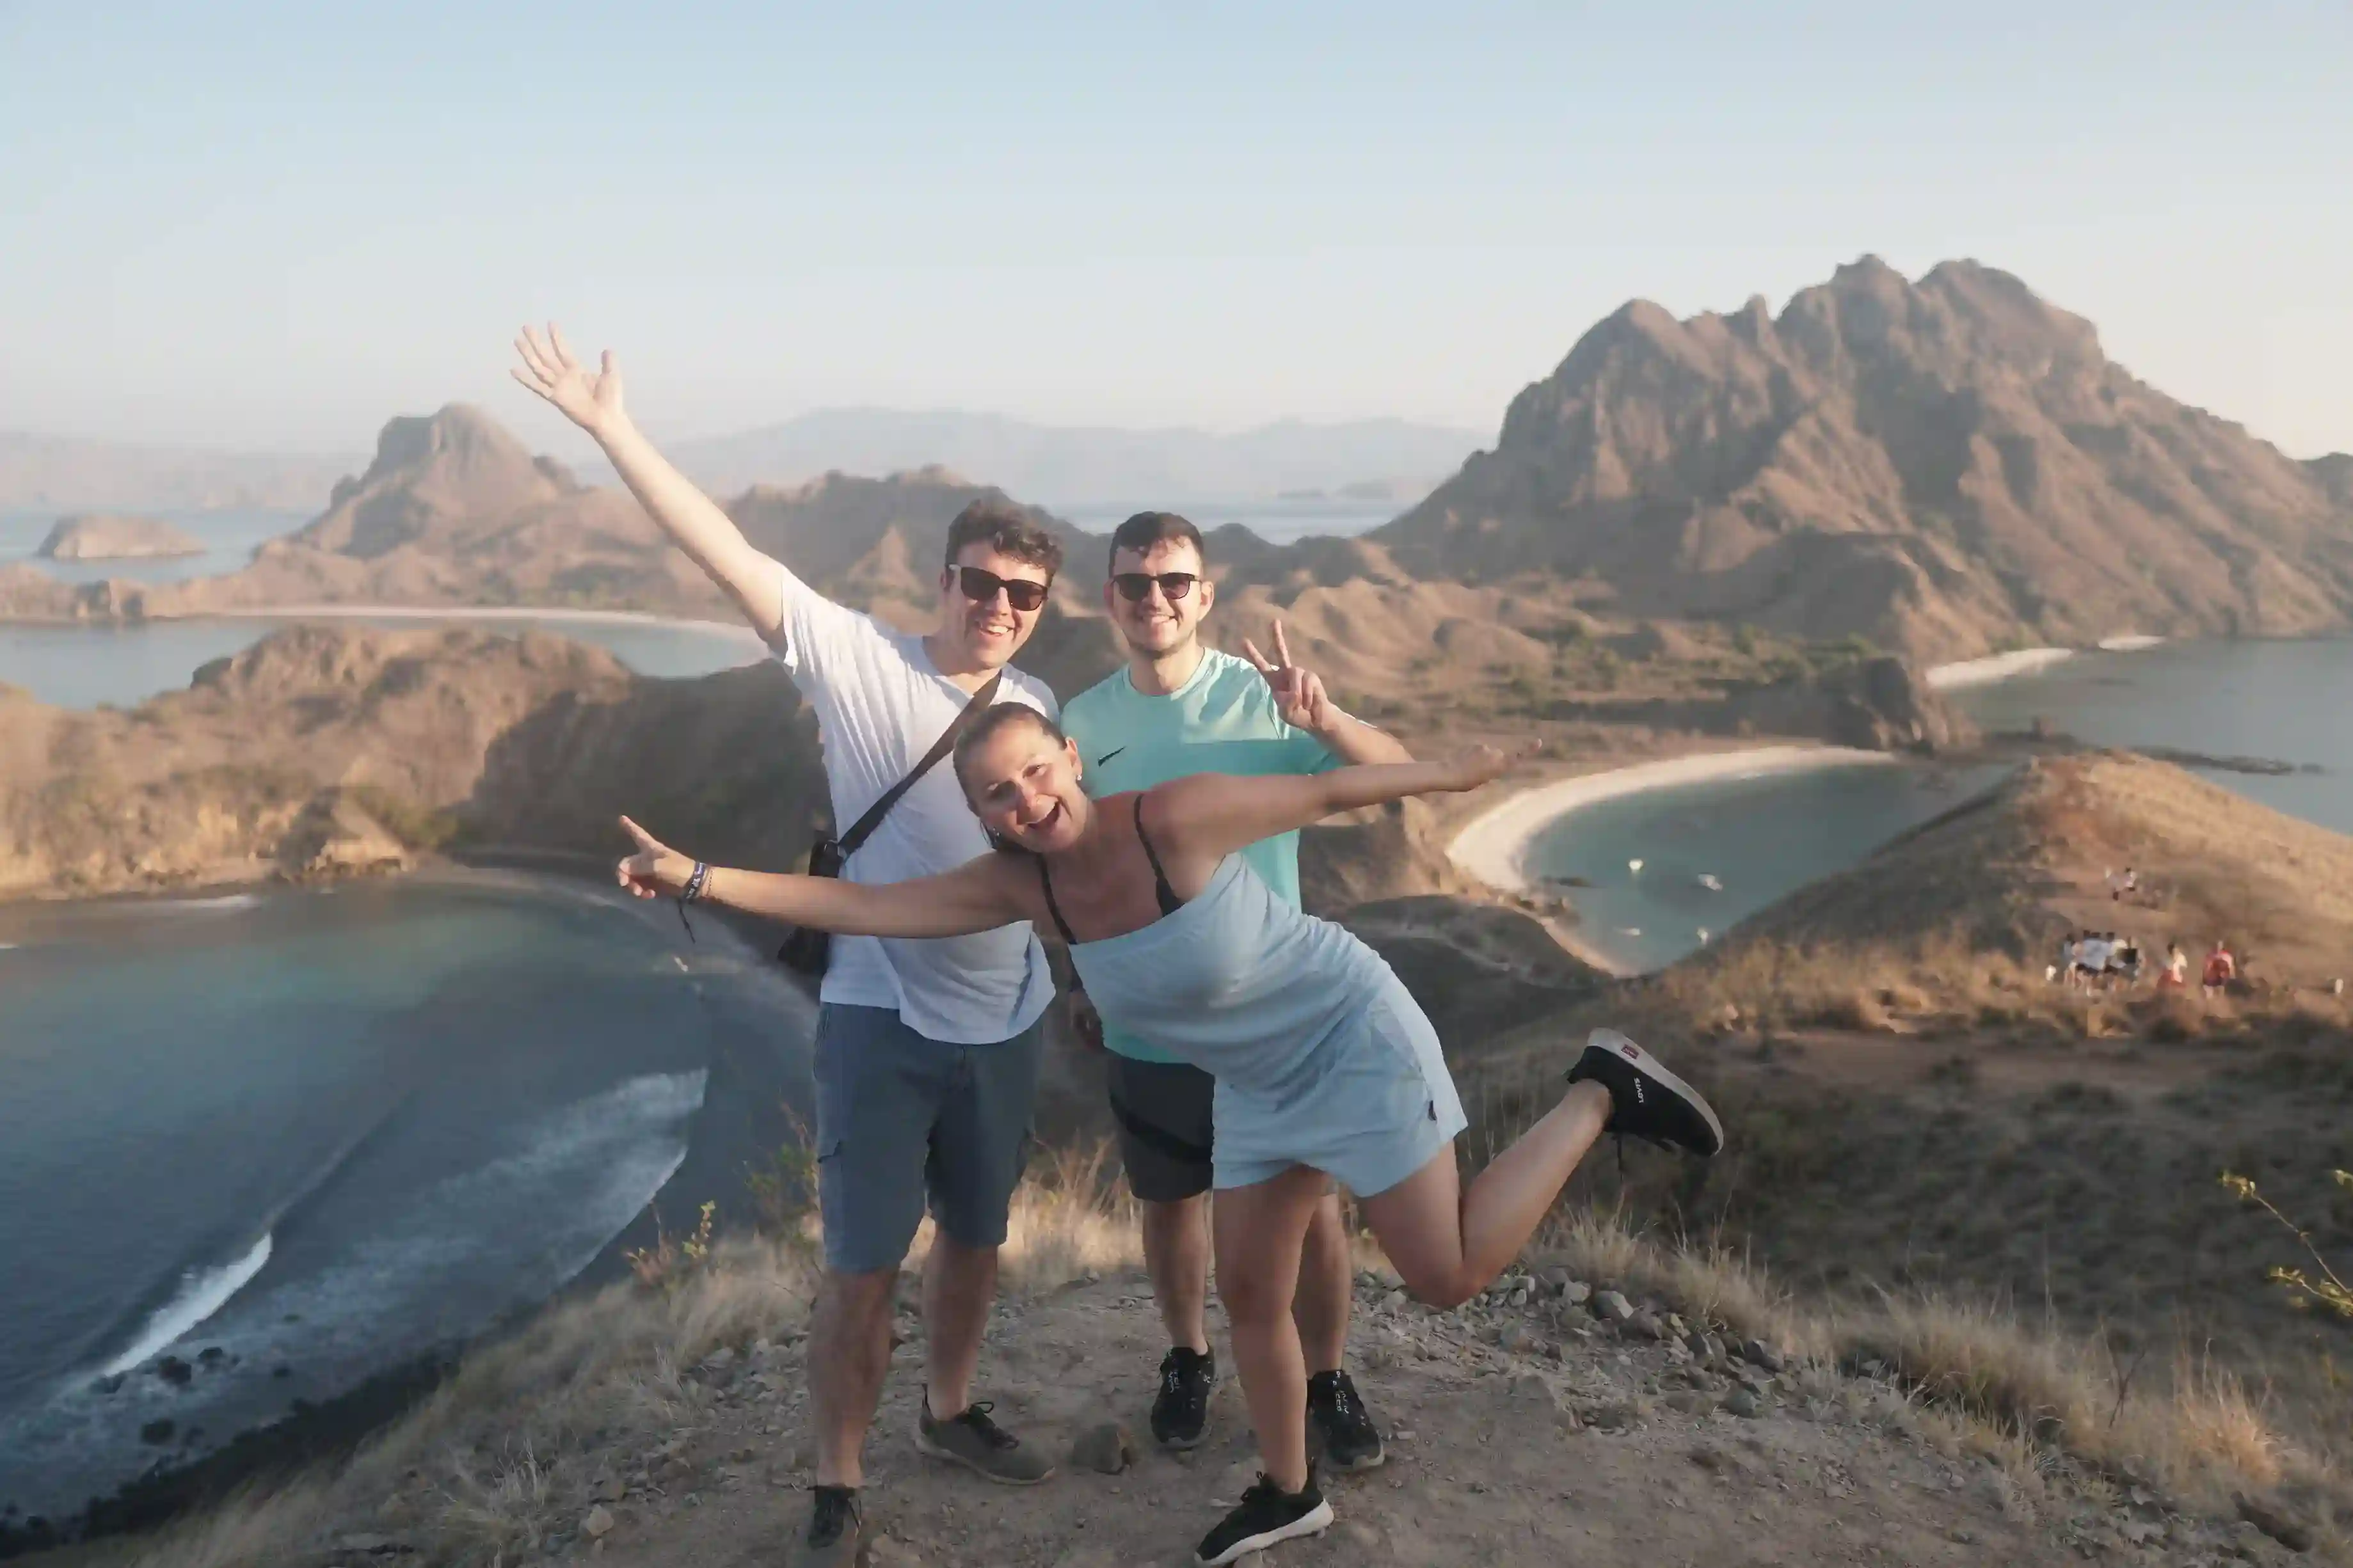
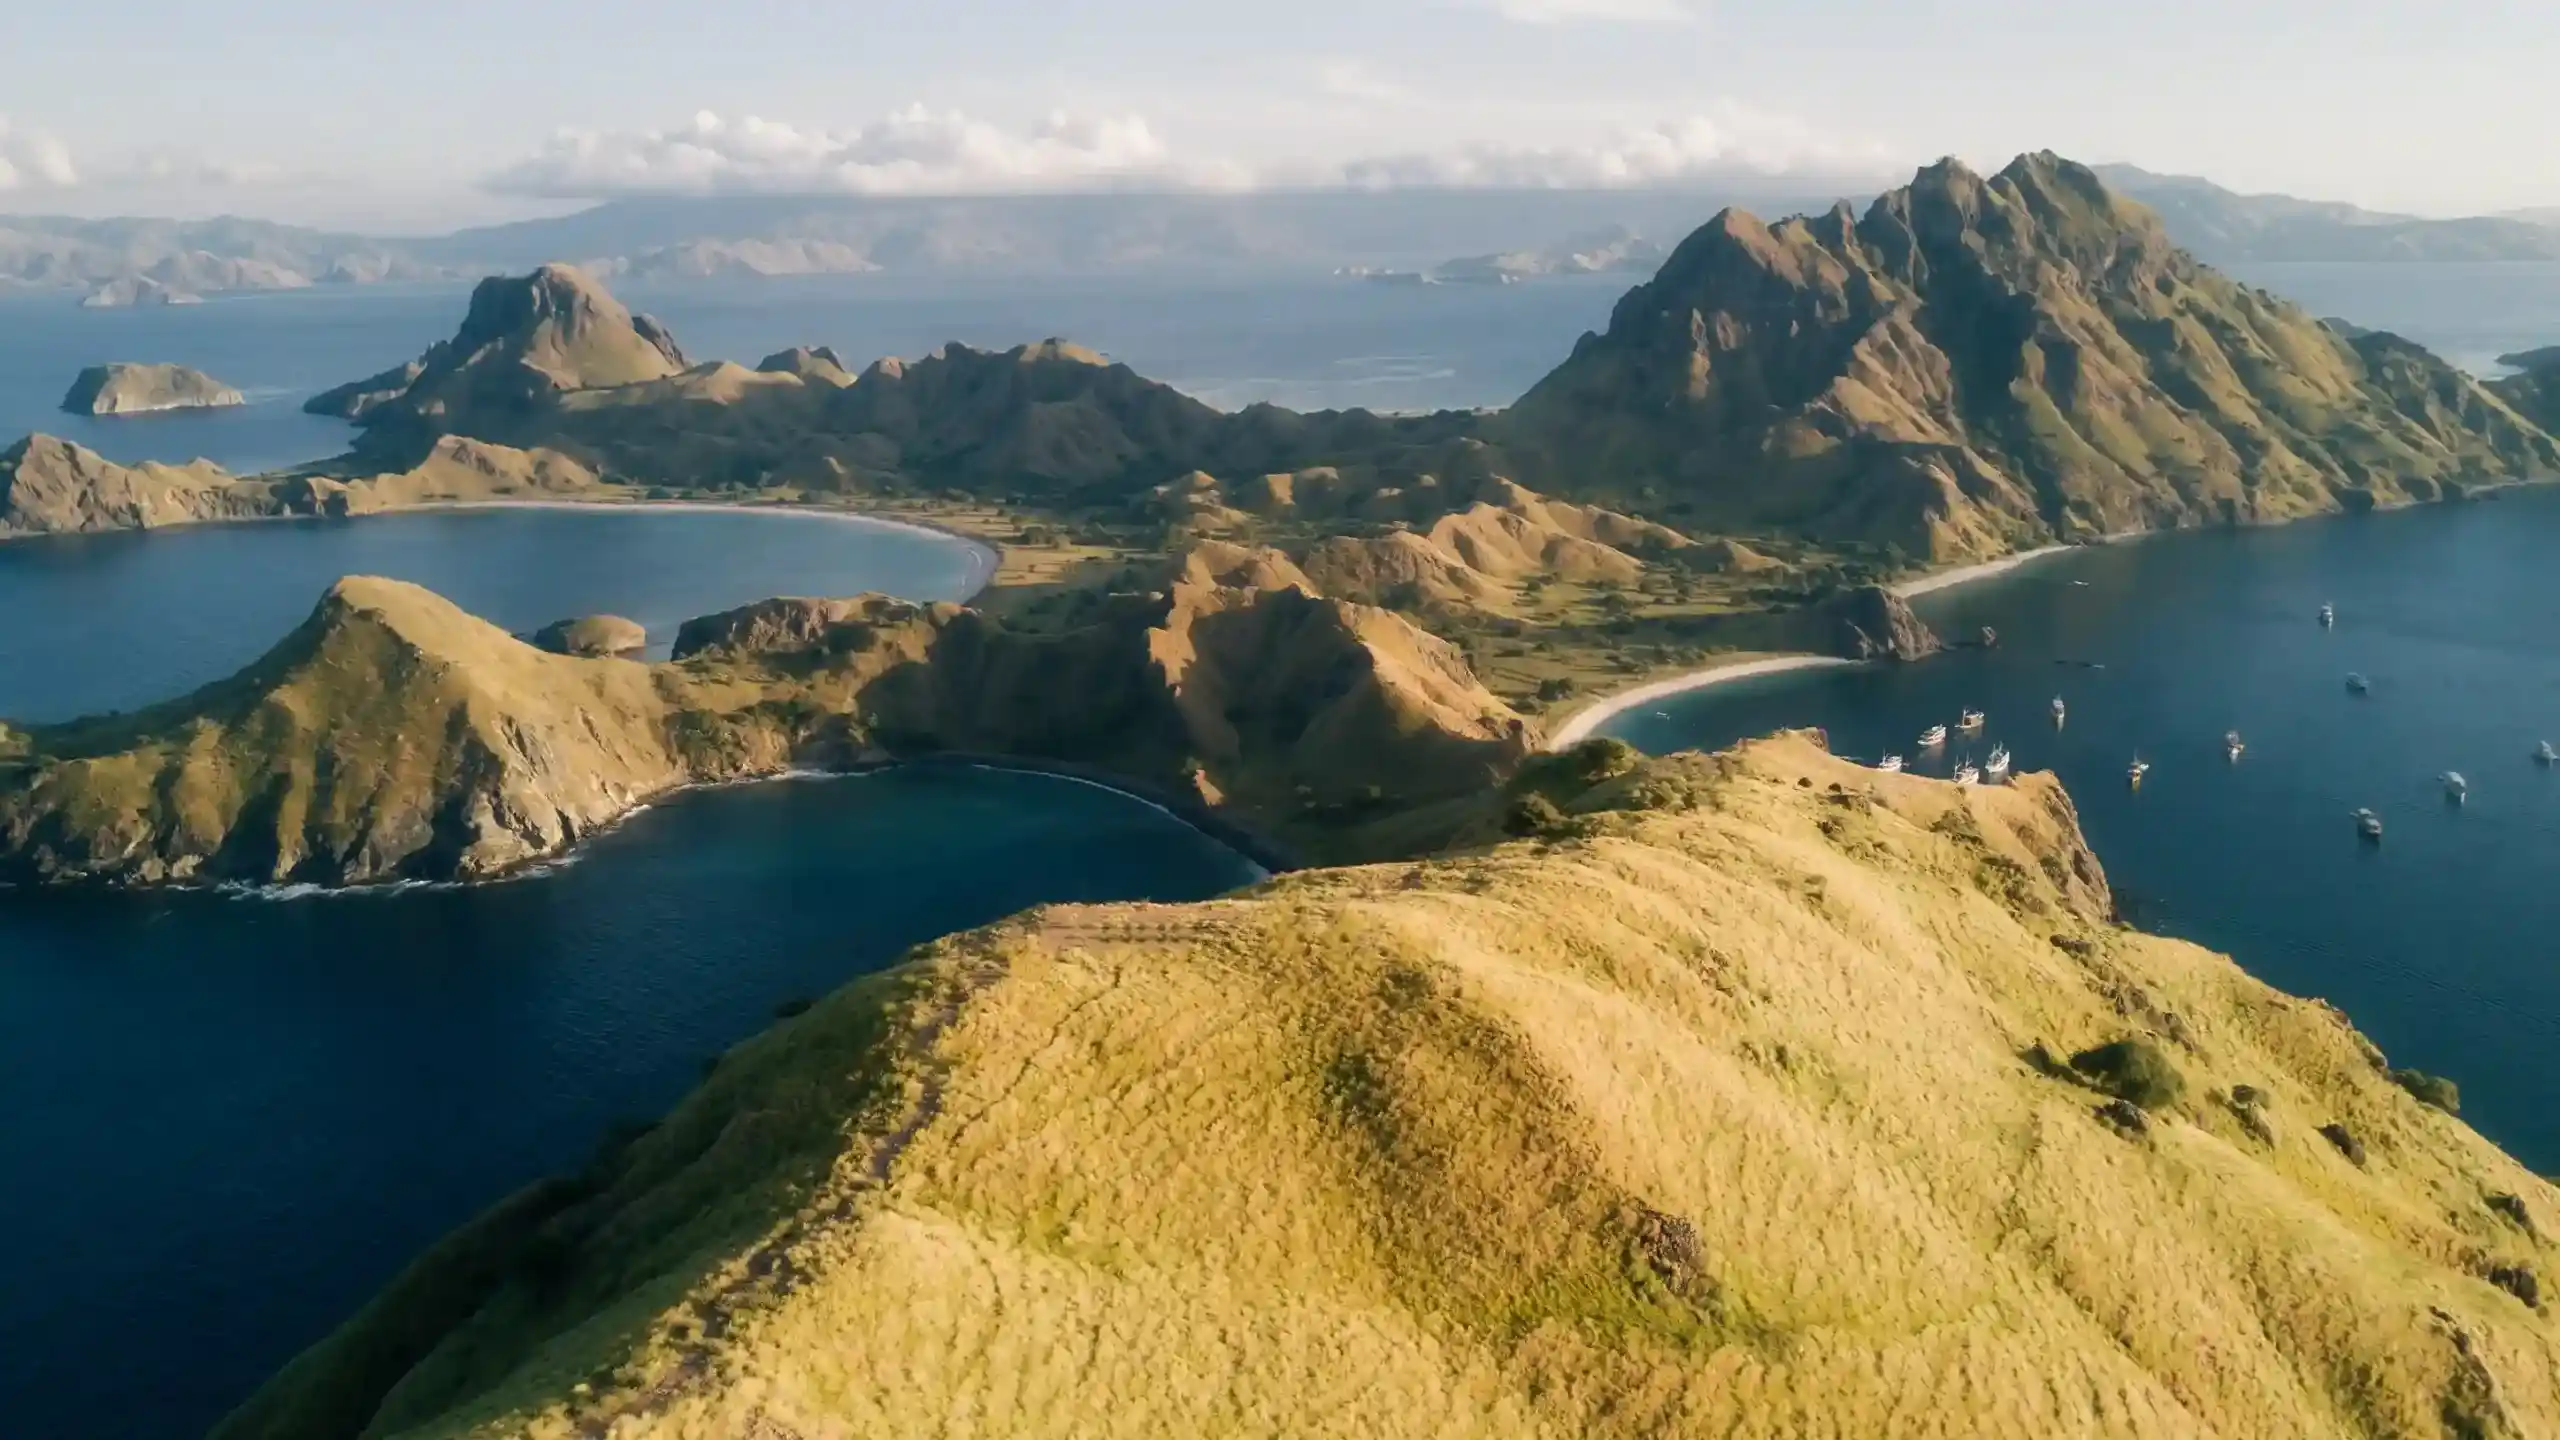
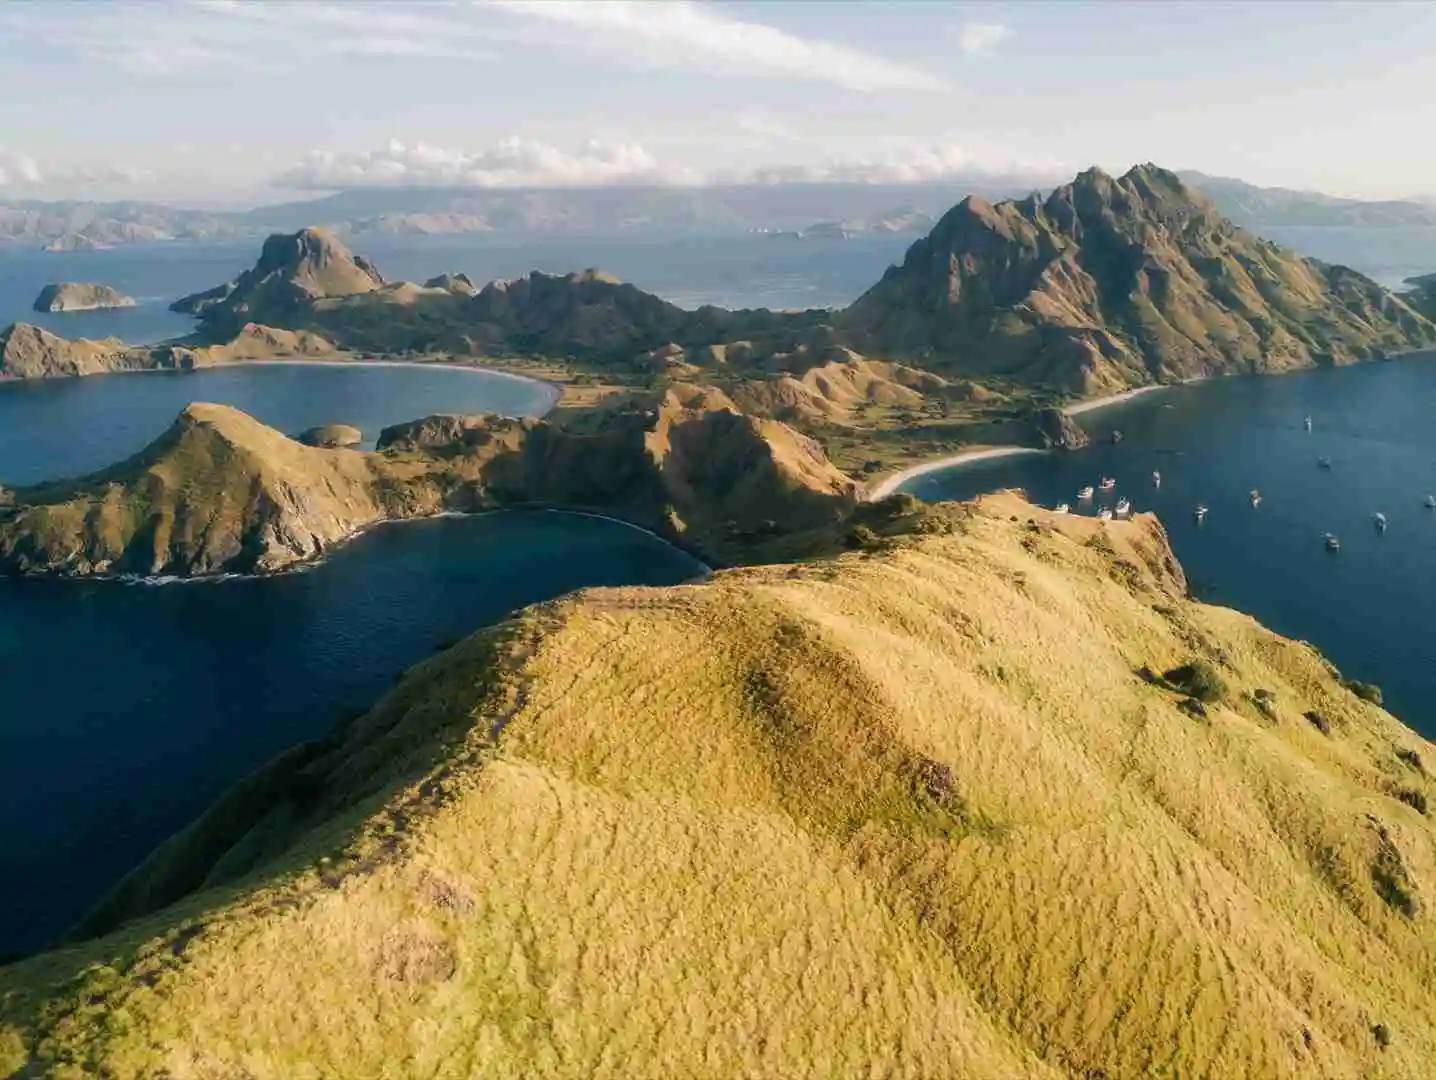
The main summit viewpoint, roughly 170–270 m above sea level and about 0.7-1.5 km of trail from the ranger dock, is the spot behind almost every well-known Padar photograph. From here, all three bays — white, pink, and black sand — are visible in a single wide frame, along with the layered ridgelines that give Padar its distinctive folded-hill silhouette. For the geology behind why those three bays exist and look the way they do, see our Padar Island beaches guide.
Is there more than one viewpoint level?
Yes, and this is worth knowing before you commit to the full climb. The trail has at least two commonly used stopping points:
- Lower viewpoint (roughly 15–20 minutes up): a rest platform partway up the ridge that already offers a partial view of the white-sand bay and a first look at the layered hills. It’s a reasonable option if you’re short on time or hiking with someone who can’t manage the full climb, though it does not capture all three bays.
- Main summit viewpoint (roughly 25–45 minutes up): the full panorama, with all three bays and the classic layered-ridge composition visible together. This is the shot in almost every professional and widely shared Padar photo.
Some guided hikes stop at intermediate rest points along the way as well, each offering slightly different partial angles — useful for photographers who want variety beyond the single iconic summit shot.

Key photo spots, in order up the trail
- The ranger dock and landing bay — a low, wide shot back toward your boat and the white-sand bay, useful as an establishing shot before the climb.
- The lower rest platform — a partial elevated view, good for a portrait-orientation shot with a hiker silhouetted against the bay below.
- The mid-trail ridge sections — where the layered, folded-hill texture that makes Padar distinctive becomes visible in the middle distance.
- The main summit viewpoint — the full three-bay panorama, best shot wide to capture all three colors in one frame.
- The summit’s far edge — a slightly different angle than the main viewing platform, favored by photographers trying to avoid having other visitors in frame during busier hours.
What time of day gives the best light?
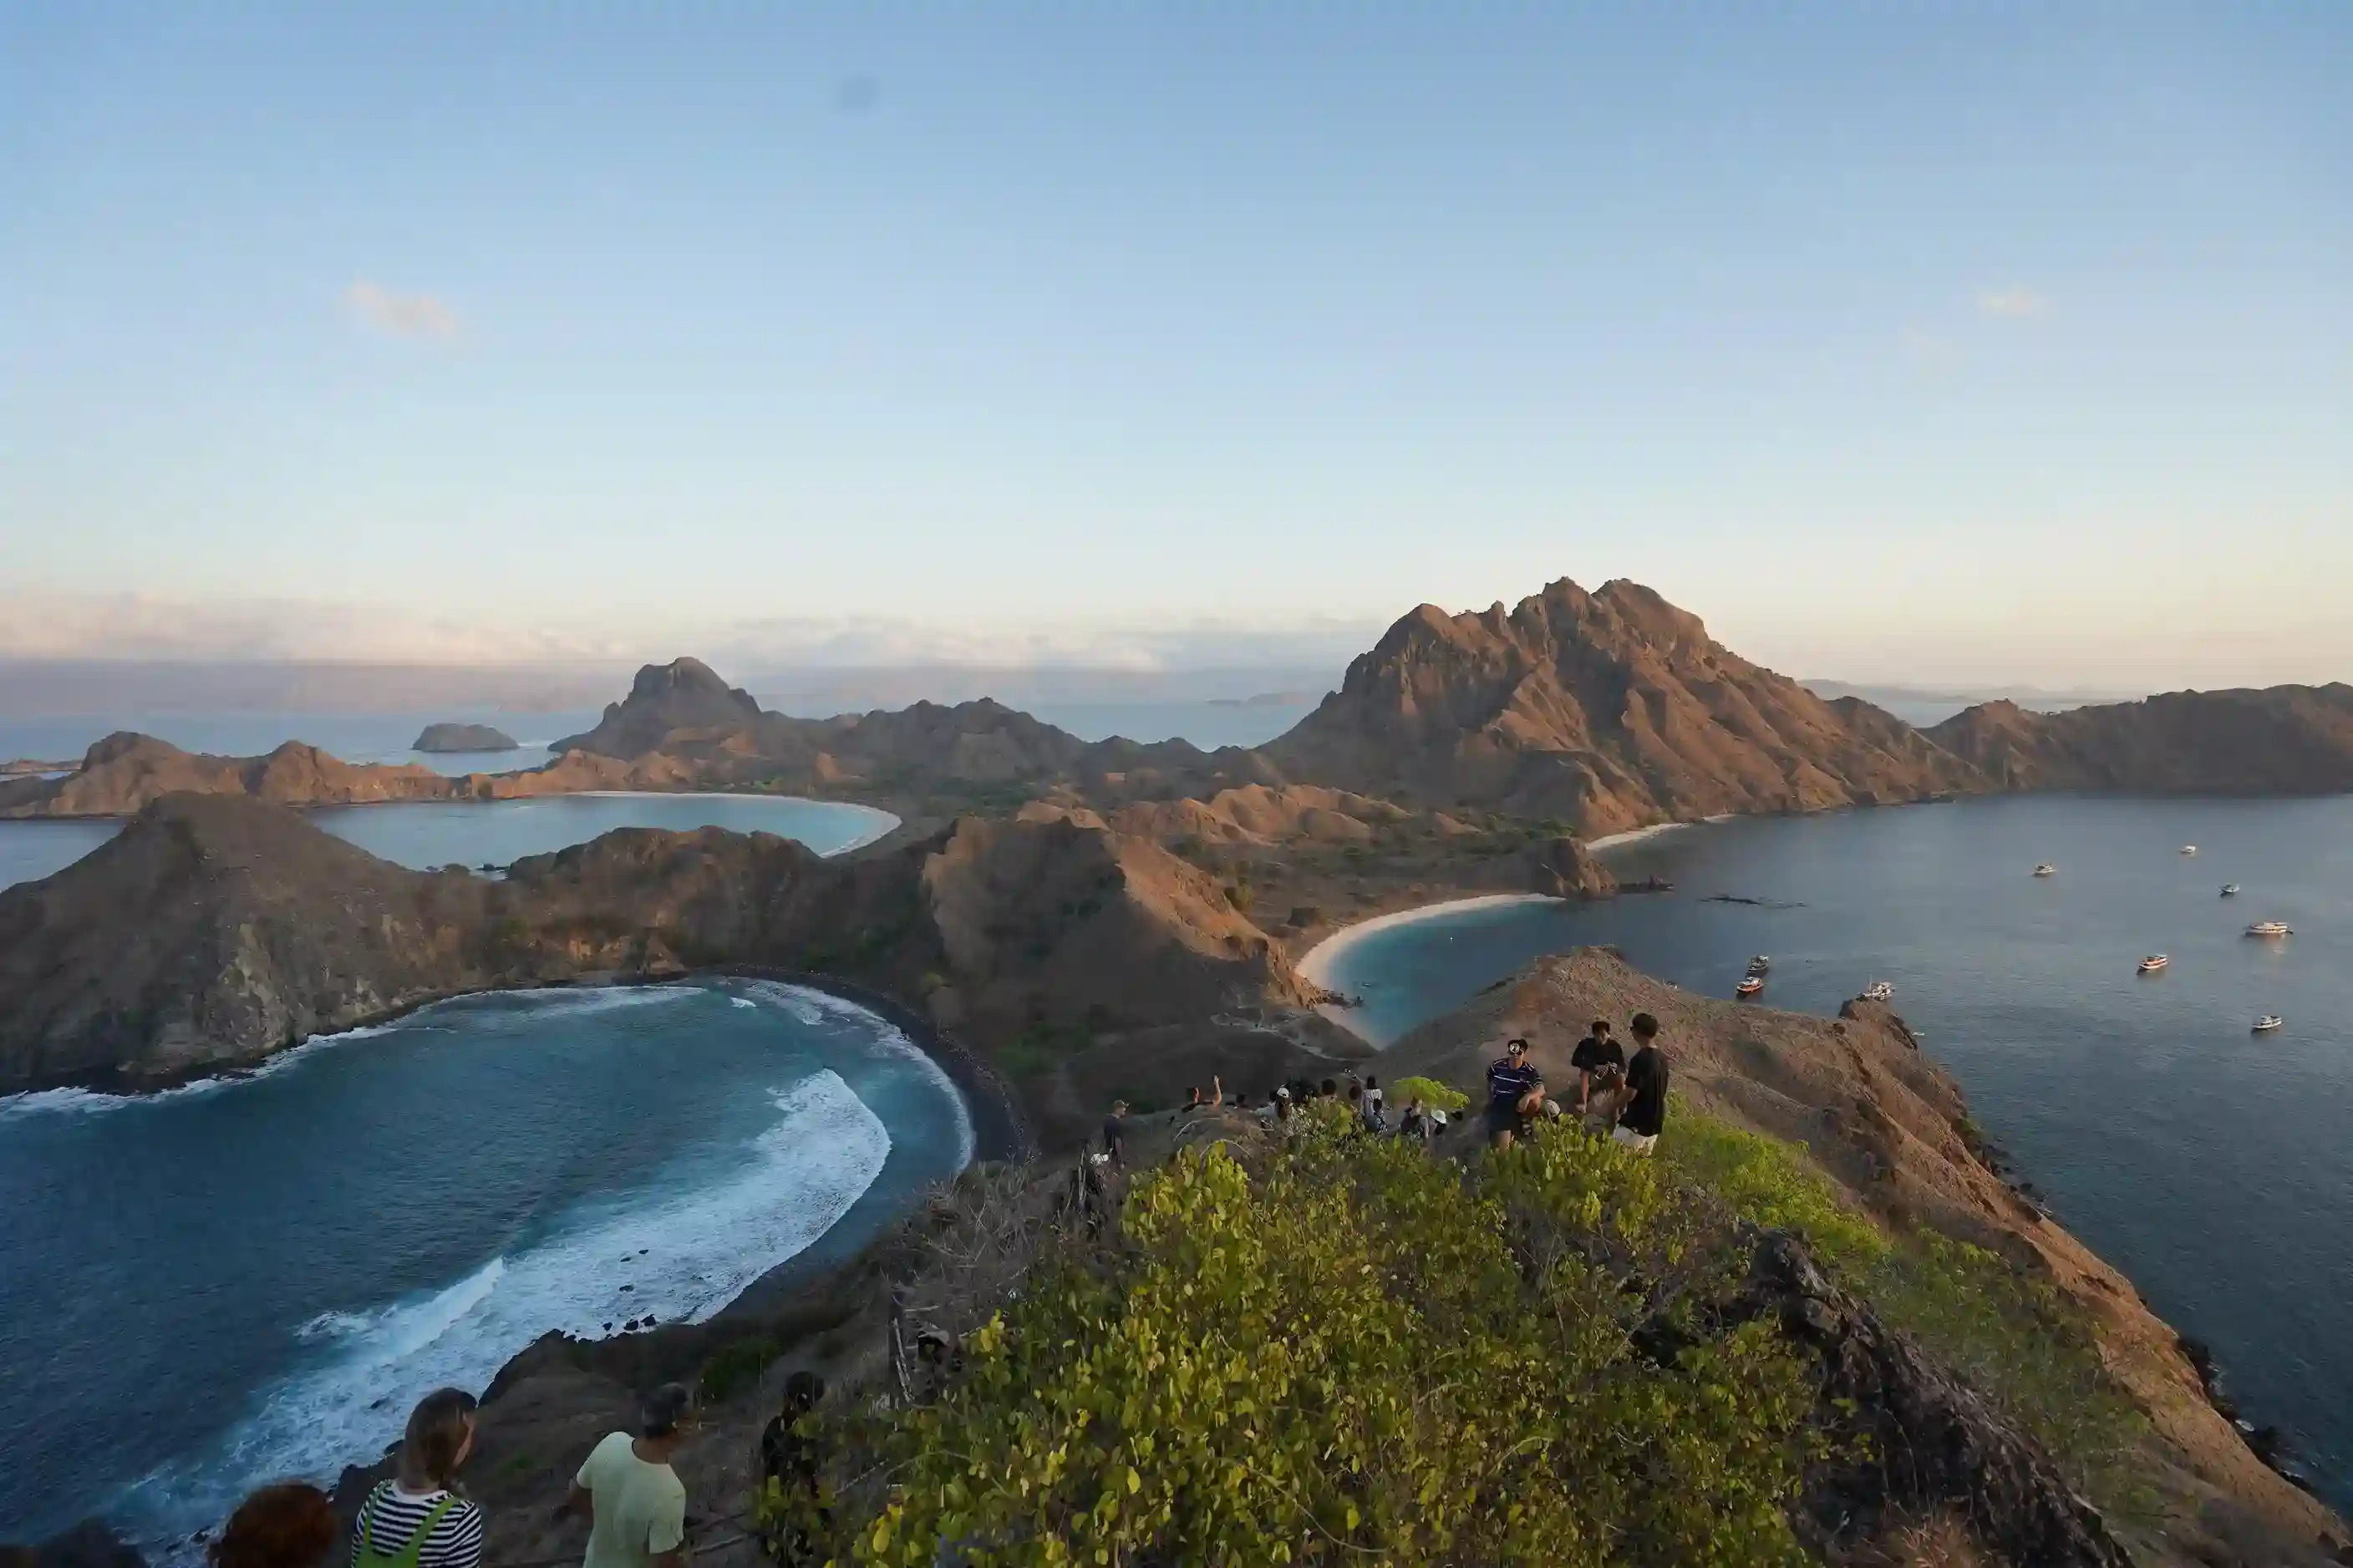
Within roughly an hour of sunrise, low-angle side light deepens the shadow texture of the ridgelines and strengthens the color separation between the three bays — the pink bay especially tends to look more saturated in this window than under midday sun. Sunrise on Padar shifts across the year from about 05:31 WITA in November to about 06:18 WITA in early to mid-July; see our full Padar Island sunrise guide for the month-by-month table and departure timing. Late afternoon light, in the hour or so before sunset, produces a similar effect from the opposite direction, and is a realistic option for liveaboard guests or private charters that can arrange a late-day landing, as covered in the sunrise guide’s sunrise-versus-sunset comparison.
Midday light is the least flattering for this specific panorama — the sun sits high and flat, flattening the ridgeline shadows and washing out some of the color contrast between the bays, even though the view is still recognizably Padar.
What gear actually helps here?

You do not need specialized equipment to get a good result, but a few choices make a real difference:
- A wide-angle lens (roughly 16–24mm full-frame equivalent, or your phone’s ultra-wide mode) captures all three bays in one frame from the summit; a standard or telephoto lens generally can’t fit the full panorama at that distance.
- A polarizing filter, if you shoot with an interchangeable-lens camera, cuts glare off the water in the bays and can noticeably deepen the blue of the sea against the sand colors.
- A lightweight, compact setup matters more than raw image quality on this specific hike — you are climbing a warm, exposed, sometimes crowded trail in the dark or in full sun, and a smaller kit is easier to manage one-handed while using the other for balance on loose sections of the path.
- A dry bag or protective sleeve for the boat crossing, since sea spray on an open speedboat is common even in calm conditions.
Are drones allowed on Padar Island?
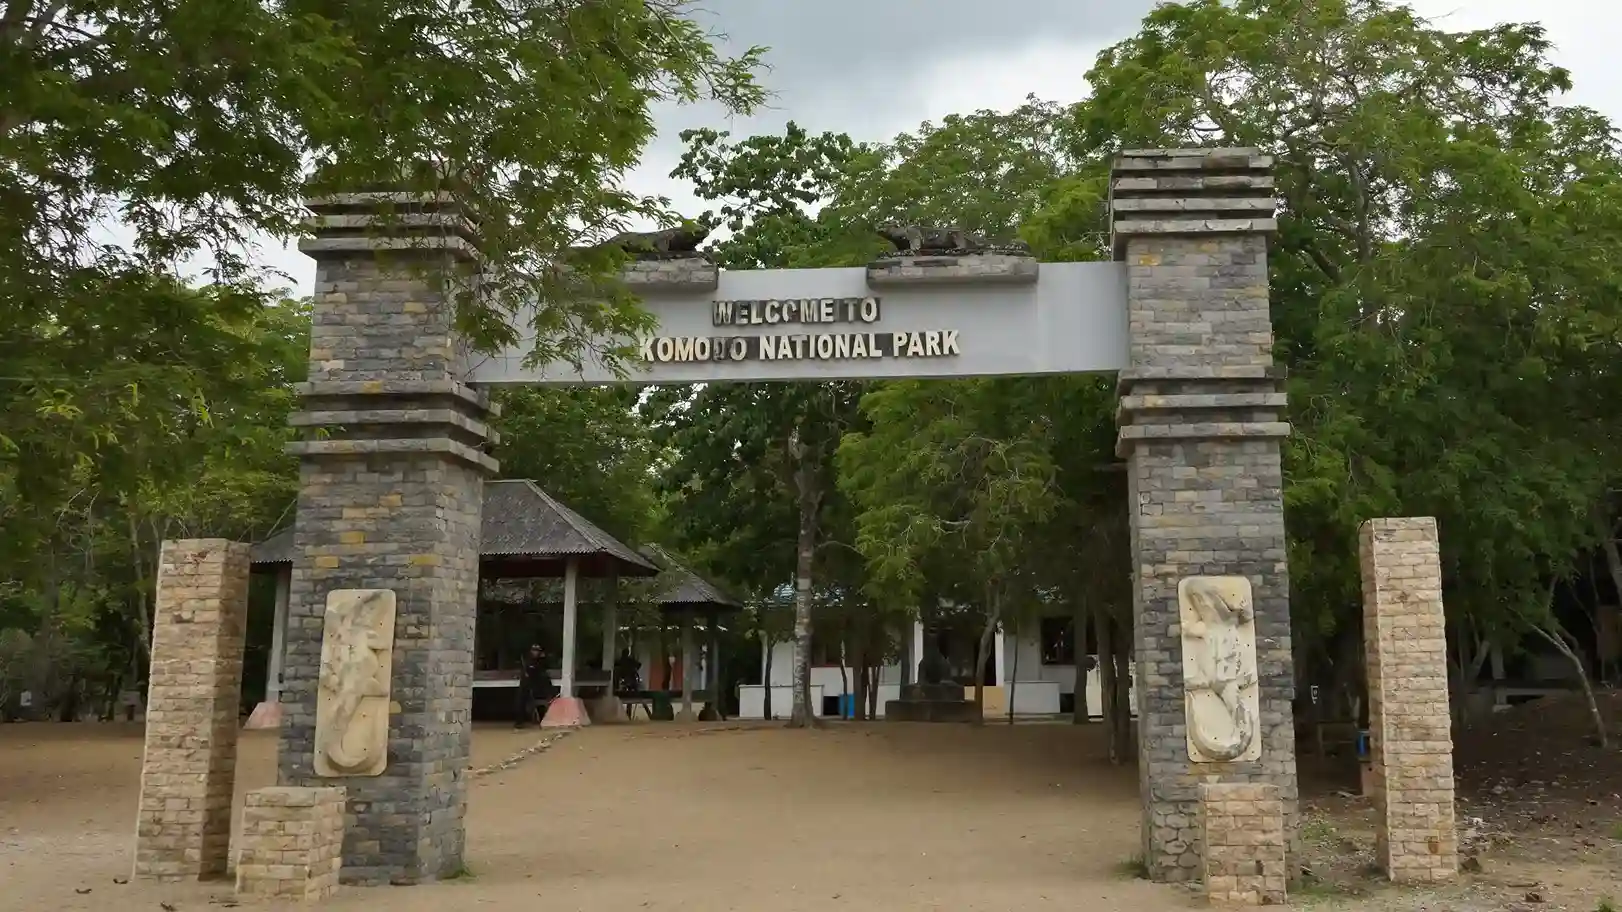
Treat recreational drone flying inside Komodo National Park as restricted rather than freely permitted. Indonesian national park regulations generally require prior authorization for drone use within conservation areas, and Padar sits inside one of the country’s most tightly managed marine parks. Some tour operators and rangers do tolerate brief, low-impact recreational use in practice, but this is inconsistent and can change without notice, and professional or commercial drone photography typically requires a separate permit process through the park authority. Before packing a drone for a Padar trip, check current rules directly with your boat operator or the park office, and see our dedicated Padar Island drone rules guide for the fuller regulatory picture — do not assume a drone that flew freely on a previous trip will be automatically welcome on the next one.
Composition tips specific to Padar’s summit view

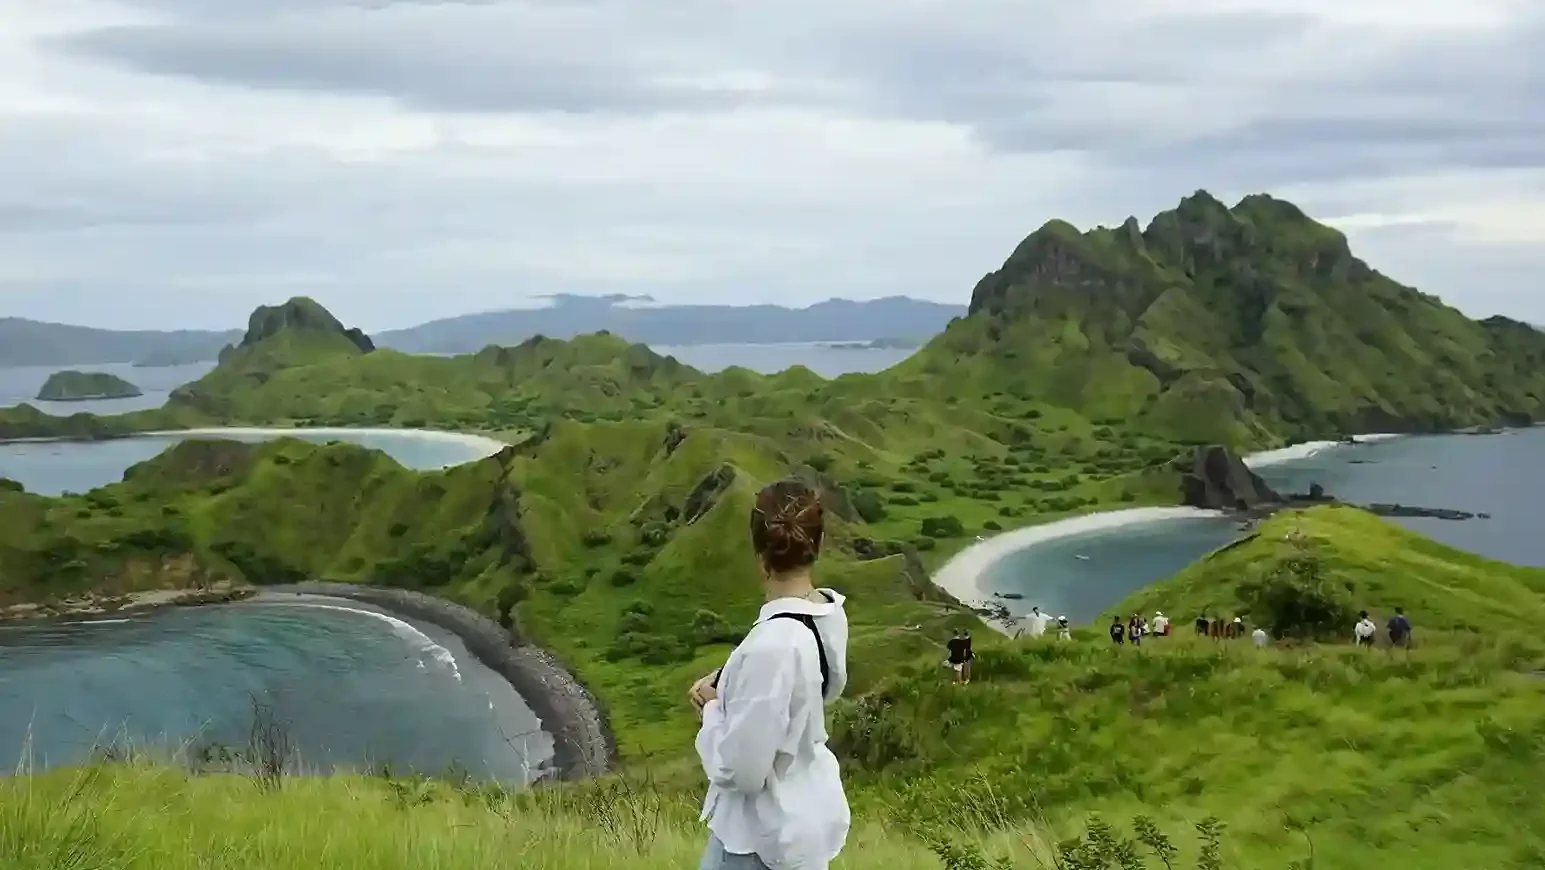
A few adjustments consistently improve on the “point camera at the view” default shot. Shooting in landscape orientation with the horizon placed roughly a third of the way down the frame keeps the layered ridgelines as the visual anchor rather than an oversized sky. Including a human figure at a distance — another hiker on the ridge trail — adds scale that a pure landscape shot lacks, since without a reference point the three-bay panorama can be hard for viewers to judge in size. For portrait-orientation shots aimed at social platforms, the lower viewpoint or mid-trail rest points often work better than the summit itself, since the tighter frame suits a single bay rather than trying to compress all three into a narrow vertical crop. More Instagram-specific spot recommendations, including angles favored for portrait shots, are covered in our related Padar Island Instagram spots guide.
How does the shot change by season?
Padar’s hills shift color with the calendar in a way that directly affects the summit photograph. During the dry season (roughly April through November), the savanna grass covering the ridgelines dries out and turns a golden-brown tone that contrasts strongly against the blue water and the pale or dark sand of the three bays. During the wet season (roughly December through March), the same slopes green up considerably, giving a softer, more saturated look to the middle-ground hills but with a real risk of overcast skies or rain interrupting a planned shoot on any given morning. Neither season is strictly “better” for photography — dry season offers more reliable clear skies and the classic golden-hill look most widely circulated online, while wet season offers a less common green-hill version of the same view with noticeably fewer other visitors in frame. Our green versus dry season comparison covers this trade-off with a fuller month-by-month breakdown.
Common mistakes that ruin the shot
A handful of avoidable errors show up repeatedly in disappointing Padar photos. Arriving too late in the morning is the most common — by mid-morning the light has flattened and the crowd at the summit has usually grown substantially, and both problems compound the same shot. Shooting in portrait orientation at the main summit viewpoint is another frequent misstep, since the three-bay composition genuinely needs the width of a landscape frame or an ultra-wide mode to read clearly; a standard portrait crop typically only captures one or two of the three bays. Skipping a lens or phone camera cleaning before the climb is a small but real issue too — sea spray from the boat crossing dries into a fine salt film that shows up as haze in photos, and wiping the lens only at the summit, after the spray has already dried, is less effective than cleaning it right before starting the ascent.
Editing notes specific to this shot
Because the summit panorama already contains a wide dynamic range — bright water, dark ridgelines, and three differently colored beaches in one frame — a small amount of shadow recovery and a modest reduction in overall contrast during editing tends to look more natural than an aggressive high-contrast, oversaturated treatment, which can push the pink bay toward an unrealistic magenta that looks obviously processed rather than simply vivid. If you shoot in RAW or your phone’s equivalent format, recovering detail in the darker ridgeline shadows usually does more for the final image than boosting saturation, since the actual color separation between the three bays is already strong enough in good light without heavy editing.
Dealing with crowds in your shots

Padar’s summit is small relative to how many visitors can arrive within the same 25–45 minute sunrise window during peak season (roughly June to August). If keeping other people out of frame matters to your shot, arriving with the earliest possible boat departure, or visiting during shoulder or wet-season months when boat frequency drops, are the two realistic levers — waiting for a “quiet moment” during a peak-season sunrise often means waiting quite a while, since dozens of boats can be timed to arrive within the same narrow window.
Frequently asked questions
What is the best time of day to photograph Padar Island?
Within about an hour of sunrise, when low-angle light deepens the ridgeline shadows and strengthens the color contrast between the three bays. Late afternoon light produces a similar effect from the opposite direction.
Do I need a drone permit to fly at Padar Island?
Recreational drone use inside Komodo National Park is restricted and generally requires prior authorization; professional or commercial drone work typically needs a separate permit through the park authority. Confirm current rules with your operator before your trip.
Can I get the classic three-bay photo from the lower viewpoint?
No. The lower viewpoint, about 15–20 minutes up the trail, only shows a partial view. The full three-bay panorama requires reaching the main summit viewpoint, roughly 25–45 minutes up.
What lens should I bring to photograph Padar Island?
A wide-angle lens, roughly 16–24mm full-frame equivalent, or a phone’s ultra-wide mode, is needed to capture all three bays in a single frame from the summit.
Is Padar Island good for phone photography, or do I need a proper camera?
A modern smartphone with an ultra-wide lens mode handles the main summit shot well. A dedicated camera helps mainly with a polarizing filter for glare control and with low-light performance during the darker portion of a sunrise hike.
Plan a photography-focused trip
If photography is the main reason for the trip, book a boat that confirms an early departure rather than a vague “morning” slot, since arriving after the light has flattened is the most common regret among photographers who visit Padar. Komodo Luxury’s Komodo boat tour and Komodo boat trip packages can be booked with a specific early departure time, and their luxury phinisi Komodo charter option gives photographers more flexibility to wait for the right light rather than working around a fixed shared-boat schedule.
Lenses and what they actually do here
A compact kit of wide to short telephoto is the right answer, because the island rewards composition far more than gear changes. The wide end covers the bays and the ridgelines; a mid-range zoom or small telephoto isolates cliffs, boats and hikers without making you walk to a different vantage point. Fixed primes work, but they cost you flexibility on a trail where the good positions are metres apart and the light moves quickly.
A 24 mm lens is wide enough for satisfying frames but will not always fit all three bays from the busiest viewpoints. The fix is not a wider lens but a different position: step slightly downhill or sideways off the main platform and shoot vertical, which stretches the composition down the ridge and usually solves it. Where you genuinely cannot include all three, treat each bay as its own subject, use the bends in the trail as leading lines into a single cove or sandbar, and frame with foreground rock, grass or the stair rail for scale.
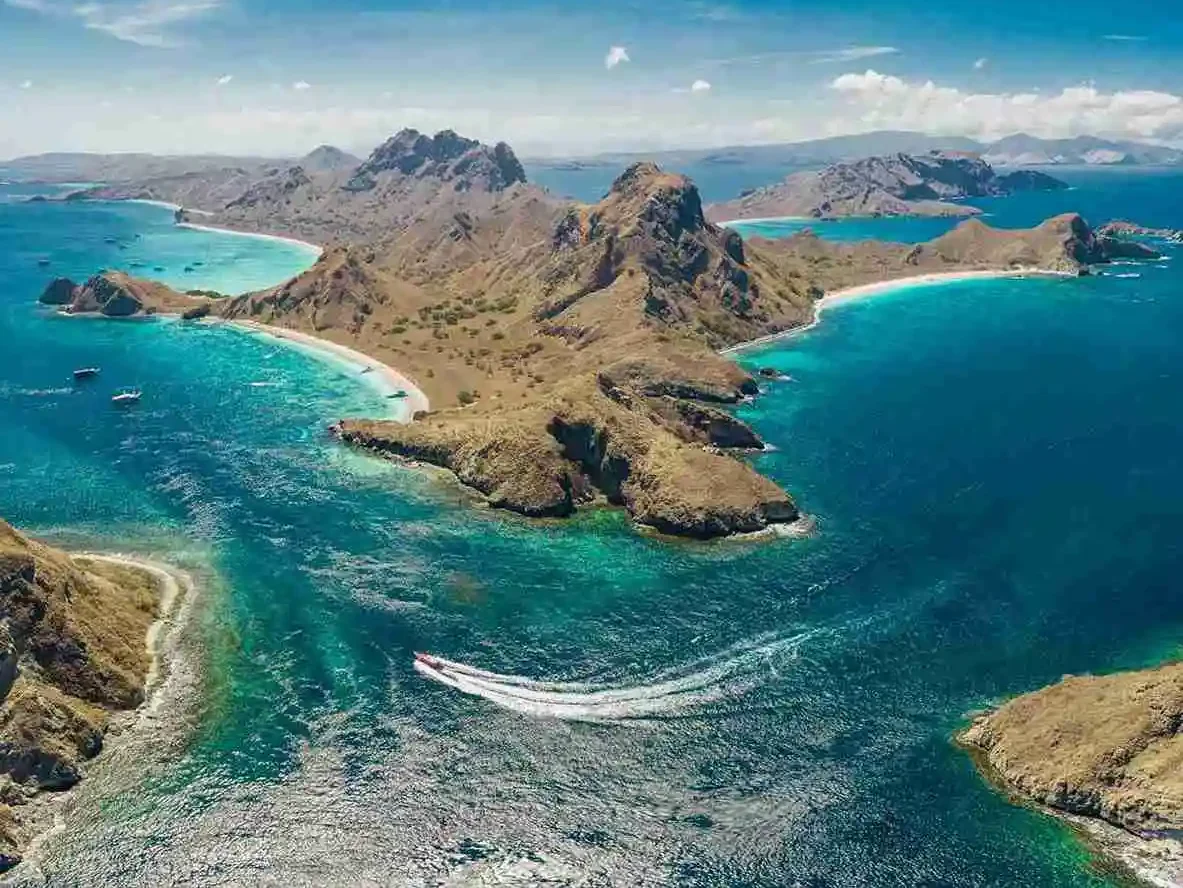
To hold all three in one frame, work from the higher switchbacks or the main summit area and keep the central ridge running into the picture rather than clipped at the edge. Use a slightly wider focal length than you think you need so you are not cropping in the field. A short telephoto does something different and underused: it compresses the layered headlands, brings the distant islands closer and makes stronger silhouettes, particularly when a small boat drifts into the frame for scale.
Panoramas work best from the flatter sections of the ridge where you can stand steadily and rotate at the hips, and from just below the summit where the ridge arcs in front of you. Use manual exposure and manual white balance so the frames match, overlap by at least a third, and test how your camera’s in-camera panorama mode handles moving water and passing visitors before relying on it.
Where to stand, and when
The best-known viewpoint sits near the upper end of the main trail, where the ridge flattens enough to stand comfortably with all three bays in view and a small turn shifts the emphasis between the foreground ridges and the distant water. But some of the strongest frames come from slightly lower, where the stairway and the ridge lead the eye down into the central bay — these spots are usually less congested and give varied angles for the same climb.
The general rule is to walk past the first crowd. Photo positions cluster around the small terraces and switchbacks where the ridge opens outward, and moving a little higher or lower finds cleaner foregrounds and fewer heads in the frame. Working slightly off the main crowd cluster is also where the ridge spine and the S-curve of the shoreline align properly. Looking back toward the trail gives layered ridges and human figures for scale, which most people forget to shoot.
Plan one main session near sunrise or late afternoon, when side-light reveals the ridges and there is less glare on the water. Start with wide establishing frames and work progressively tighter into individual bays, boats and people. From the upper trail all three bays are visible, but how clearly depends on light, tide and haze — early morning gives the best definition between sand colours and water tones, and in dull or hazy conditions the contrast flattens. August suits photography for exactly this reason, with clear skies and crisp colour, at the cost of windier, choppier seas and a more exposed feel on the ridge.
At the viewpoint itself, work quickly but methodically: secure your footing, check the horizon, and shoot a mix of wide landscapes and medium crops before the light changes. Strong wind shakes light tripods and turns a dangling camera strap into motion blur, so secure both.
Timelapses do better from a stable, less crowded landing than from the narrow summit edge — solid tripod, image stabilisation off, and an interval that balances smooth motion against battery life. For vertical video, the moves that work are a tilt from your feet up the ridge toward the summit, or a slow pan across the bays; walking the steps while filming needs stabilisation and, more importantly, needs you to not be blocking anyone.
Editing honestly
Start with gentle global adjustments: correct the horizon tilt, which the multiple headlands make easy to get wrong, lift the shadows slightly for ridge detail, and pull back the highlights on the water. Set white balance so the sand and vegetation look natural, then fine-tune contrast with curves or a light touch of clarity.
Padar’s colours look muted in harsh midday light, which tempts heavy saturation. Resist it. A realistic treatment preserves the subtle gradations in the slopes and avoids a neon sea that will read as misleading when someone else stands in the same spot. High vibrance may perform on social feeds, but keeping a more neutral version alongside it costs nothing and is the one you will want later.
Minimalist frames are genuinely available here: isolate a single ridge, a boat, or one curve of shoreline against plain sea or sky. Longer focal lengths and slightly hazy days simplify the background, and negative space above a ridge often does more than filling the frame.
Rules, ethics and the night-sky question
Standard stills for personal use are fine. Rangers may restrict tripods in tight spots and will enforce the stay-on-trail rule, and recreational drone flying is tightly controlled and normally requires prior authorisation. The constructed staircase makes it easy to pause safely at several bends, but passing space is tight at peak times, so stop slightly off to the side at the wider landings and let groups through.
The practical do-and-don’t list is short. Do arrive early in your session, carry enough water, protect your gear from dust and stay on the marked path while composing. Do not block the staircase for long periods, stand on unstable edges, or move signage and stones to clean up a frame. Ethically, that extends to not pushing anyone toward an edge for a dramatic pose, asking before photographing recognisable individuals including staff and rangers, and giving wildlife distance.
A small whistle is worth carrying, particularly if you tend to step aside from the main knot of visitors to compose quietly. Reception is patchy and shouting does not carry over wind and surf.
On astrophotography, the theory is excellent and the practice is not. Skies above Padar are very dark once the boats leave and there is minimal local light pollution, which would suit Milky Way work — but overnight access is tightly controlled, standard tours do not stay past dusk, and park rules, safety requirements and boat schedules all point the same way. Doing it would require clear skies, a season when the galactic core rises during accessible hours, and explicit permission to remain after the standard sessions, plus a fast wide lens, a solid tripod and a red-mode headlamp. The silhouettes of that jagged skyline would be striking; the logistical barriers are the real subject.
Finally, two comparisons. Padar is stronger than Komodo Island for sweeping landscape and layered ridgelines, while Komodo is about dragons, forested hills and closer wildlife — if wide coastal vistas are the priority, Padar delivers more of them per hour of effort. And whether it is the best viewpoint in Indonesia is unanswerable, but its reputation rests on something concrete: how much height you gain relative to effort, and how cleanly the triple-bay layout reads in a single frame.
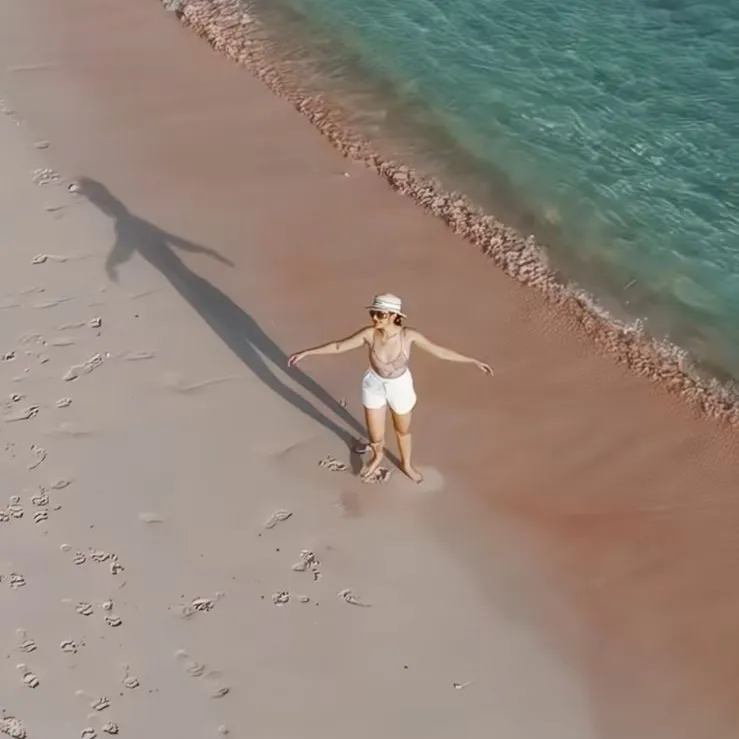
One point of fact worth keeping straight while you are photographing them: the three bays differ in colour because of varying mixes of coral fragments, shell material and weathered volcanic and biogenic particles. The pinkish stretches are white sand blended with red coral debris; the darker ones carry a higher proportion of volcanic grains.
Booking the trip itself
This site documents Padar Island; it does not sell tours. Bookings for the boats and packages described above are handled by Komodo Luxury, the operator within the same group as this publication.
- Komodo one-day trip package — the day-trip format most Padar sunrise visitors book.
- Komodo liveaboard — sleeping aboard so you are anchored near Padar before dawn.
- Komodo private trip — a private boat and schedule for your group alone.
Questions about a specific date or vessel go to WhatsApp +62 811-3823-875 or sales@komodoluxury.com.
This guide does not operate boats. Bookings are fulfilled by Komodo Luxury, and this site may earn a referral commission.